Let us understand the rest of the post as a continuation of the previous post. But before that, please refer to the previous post.
But before that, I’m adding the demo here at the beginning one more time.
Process Flow:

For continuation, I have posted the process flow, which we discussed in the earlier post.
We’ll analyze the prompt engineering in today’s post.
But, before that, let us understand the flow of process by the agents & how they work together as one team –

So, from the above flow diagram, you understand the sequence of events that will take place once you initiate the application execution.
But, for more clarity let’s understand the roles of individual agents that you want to define –
- Admin: Interact with the planner to discuss the plan. Plan execution needs to be approved by the admin.
- Engineer: Follows an approved plan & writes Python/shell code to solve tasks. Wrap the code in a code block that specifies the script type and the name of the file and then put # filename: directory before executing it.
- Game Designer: Follows an approved plan & able to come up with a proper UI design after seeing their abstracts printed. No need to write any code.
- Planner: Suggest a plan. Revise the plan based on feedback from admin & critic, until admin approval. The plan may involve an engineer who can write code and a scientist who doesn’t write code. Required to explain the plan first & needs to be clear which step is performed by the engineer agent, and which step is performed by a scientist agent.
- Critic: Double-check the plan, claims, and code from other agents and provide feedback. Check whether the plan includes adding variable info such as source URL.
Let us understand the prompt engineering once we initiate the process along with the initial problem statement & how it evolves the code for your needs.

The first prompt is relatively simple, as it asks to build a simple user interface for the Game of Snake (Which we used to play a lot using our first Nokia mobile phones).
And, it didn’t exactly build what we were anticipating at first glance. And, it came out with something like this –
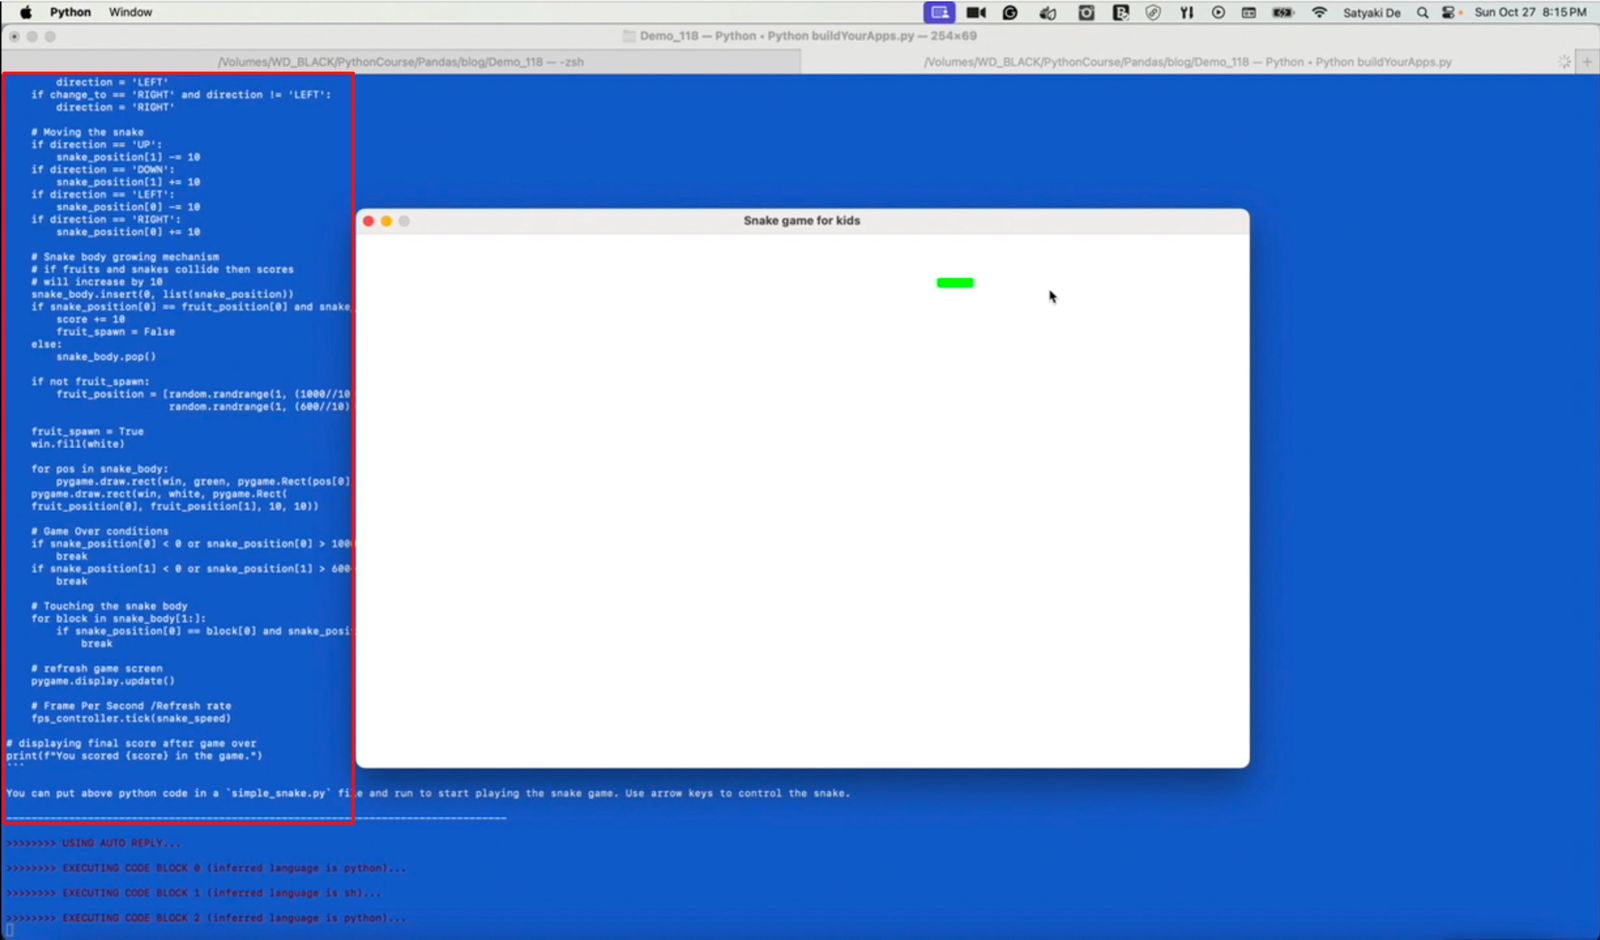
Even though it creates the Snake marked with Green objects on top of the white screen, it lacks many things. For example, the Snake briefly leaves the visual box and appears from the opposite side once it reaches a wall. It doesn’t have a target to hit, a score to show, or a timer to control the play hours per session per person, i.e., 2 minutes at once.
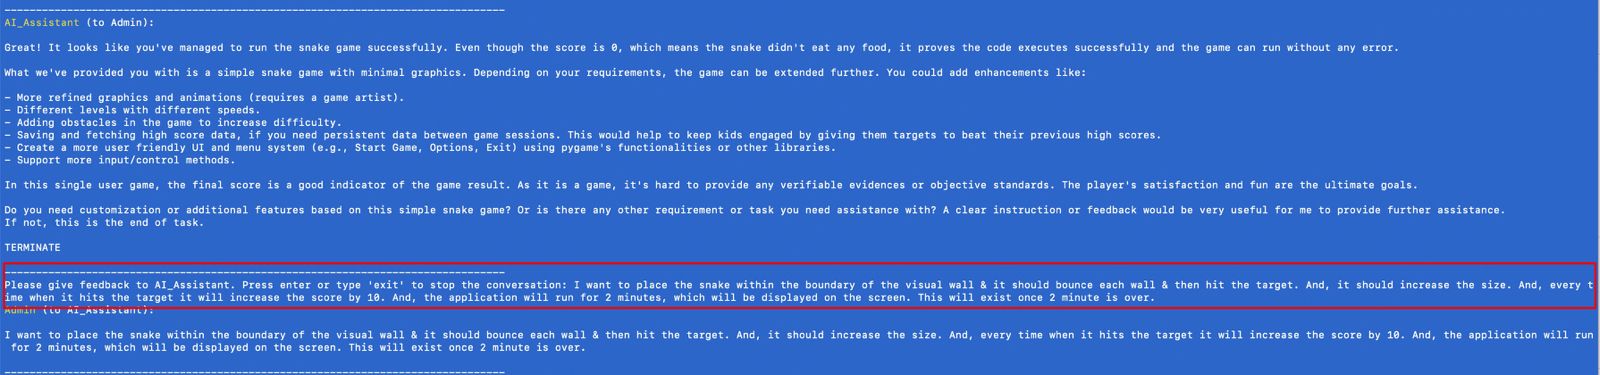
However, AutoGen will give you an option to further refine your goals with the following prompt. And, developers have the option to provide their best feedback based on the previous demo, which is as follows –
As you can see now, we did much more refinement to reach our goal.
I want to place the snake within the boundary of the visual wall & it should bounce each wall & then hit the target. And, it should increase the size. And, every time when it hits the target it will increase the score by 10. And, the application will run for 2 minutes, which will be displayed on the screen. This will exit once 2 minute is over.
And, the output of this change is per our expectations, which is shown below –
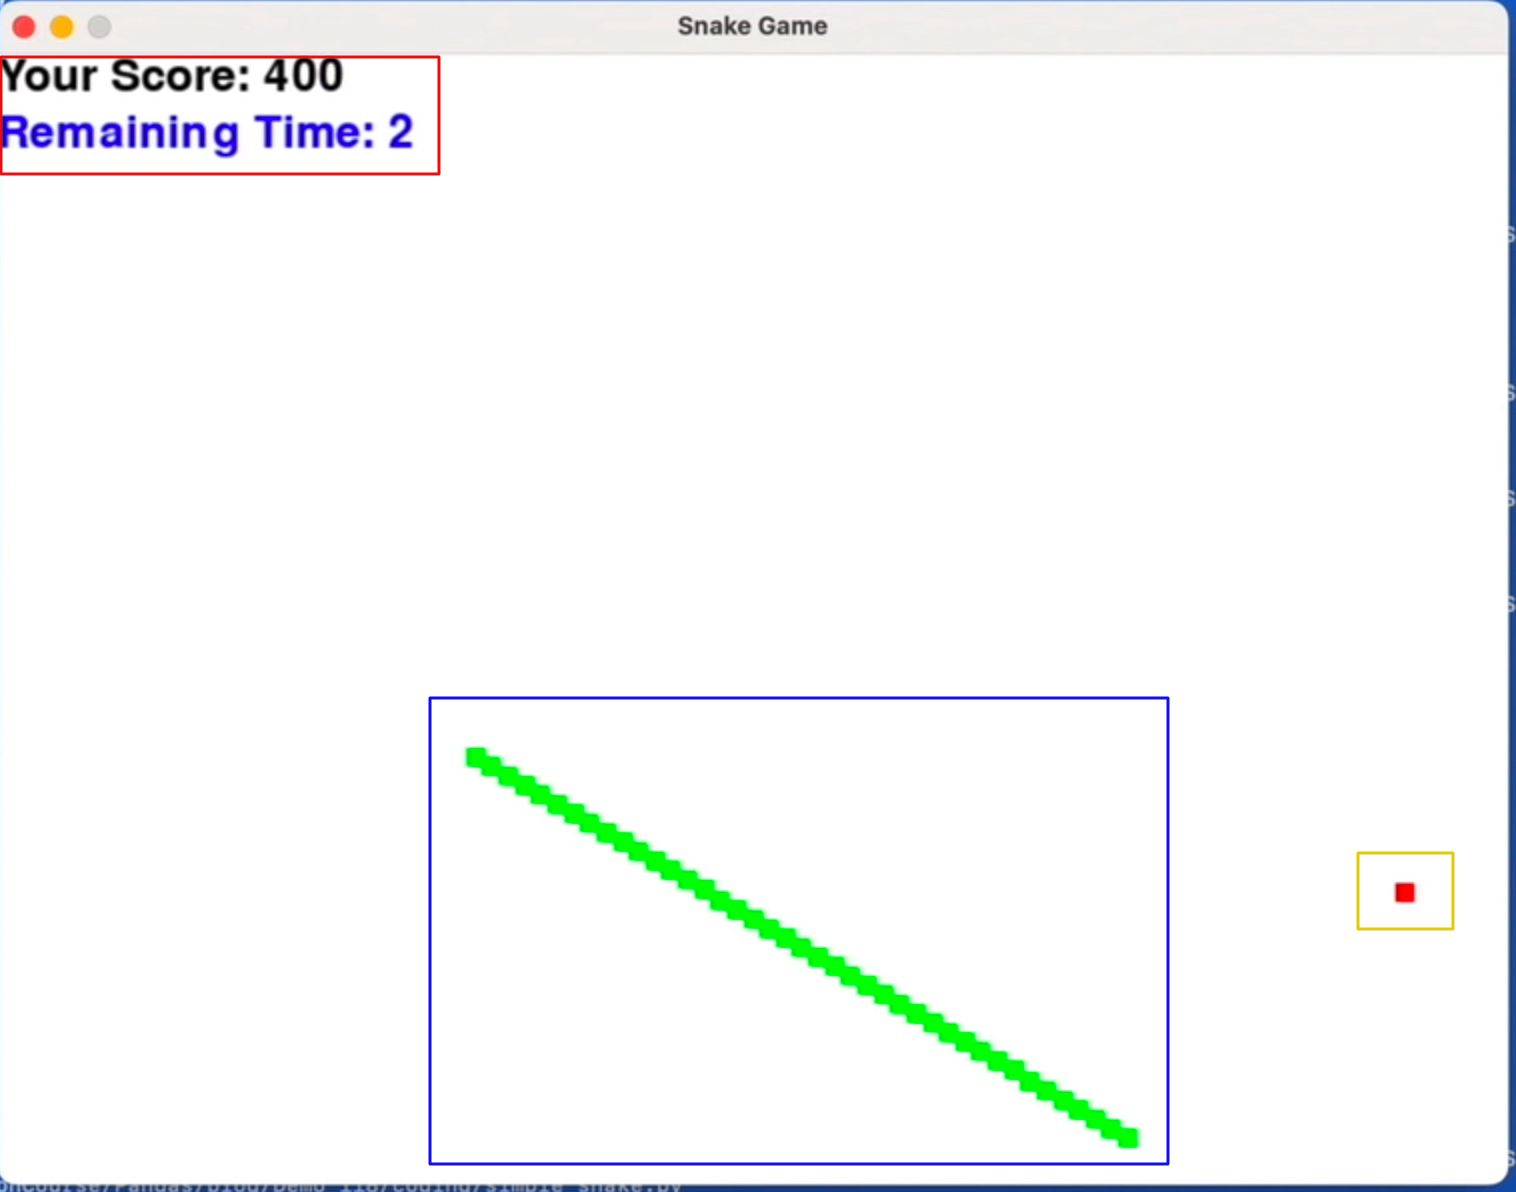
The top-left RED-square box captures the remaining time & the current score based on your hit or miss to the targets. The bottom-central BLUE-square box shows the growing snake based on the number of hits. The bottom-right YELLOW-square box shows the new targets.
In the next post, we’ll discuss the generated scripts by this process.
We’ll further analyze the prompt engineering & the final generated code in the next post.
Note: All the data & scenarios posted here are representational data & scenarios & available over the internet & for educational purposes only. There is always room for improvement in this kind of model & the solution associated with it. I’ve shown the basic ways to achieve the same for educational purposes only.
2 thoughts on “Building solutions using LLM AutoGen in Python – Part 2”