Hi Guys!
Today, We will revisit one of the previous posts & demonstrate the latest micro-service approach using the Integrated azure python function using Microsoft visual studio code. We will be using the same code base except for minor changes in our code. Please refer to the old post for a detailed discussion on the code-base.
We have created a new Microsoft Azure account & tested this for the audience. We want to thank Microsoft for testing their cool tools & allow us to explore & document them & even allow us to present our scenario here.
If you successfully register, you will be able to see the following page inside the azure function –

You need to install Microsoft Visual Studio Code, which you’ll get it from this link.
One can see the following landing page if they open this application –

We need to install the above component marked with a white square box. After this, we need to install other important nuget from the Microsoft visual studio code. Among them, we need to first install – Azure Function by searching it as shown below –

After installing, we can see the following screen –

Microsoft suggests everyone for a two-stage authentication. In that way, after providing the essential credentials, the system will ask for the code that should have pushed to the registered, trusted device. After successful entry, one can see the following confirmation screen –

At this moment, we can see the following screen if our two-stage authentication is successful –

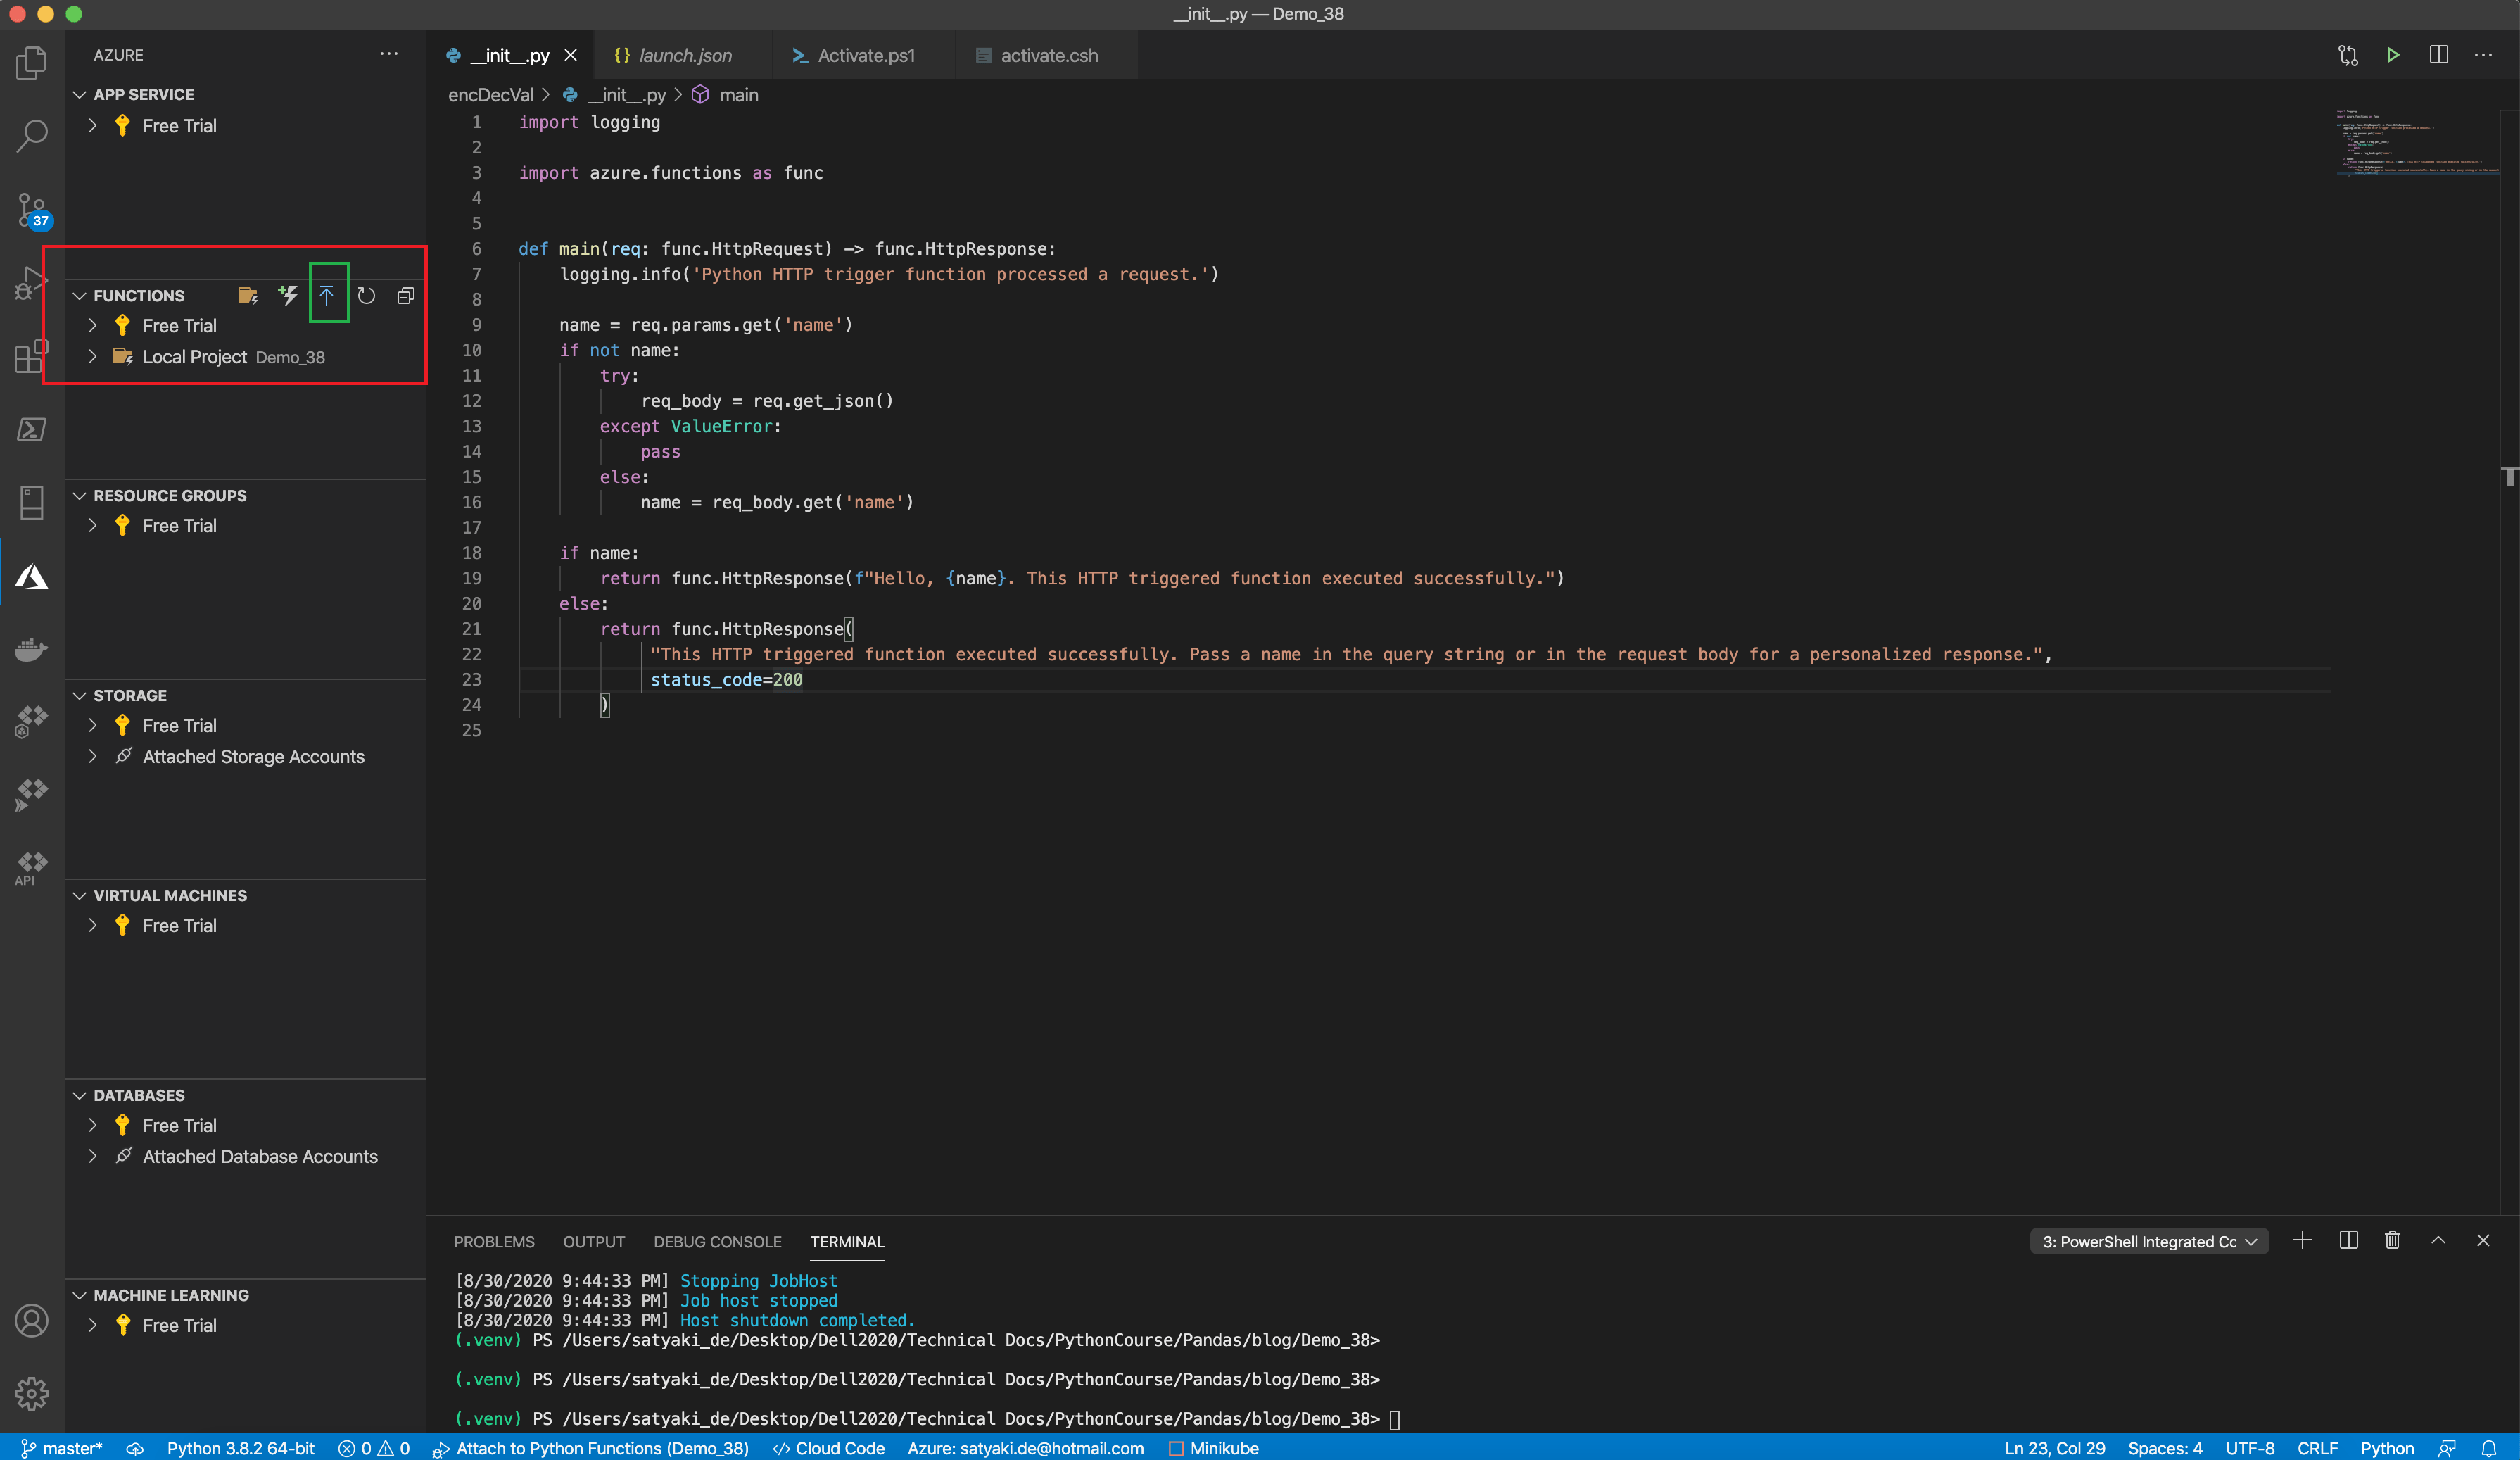
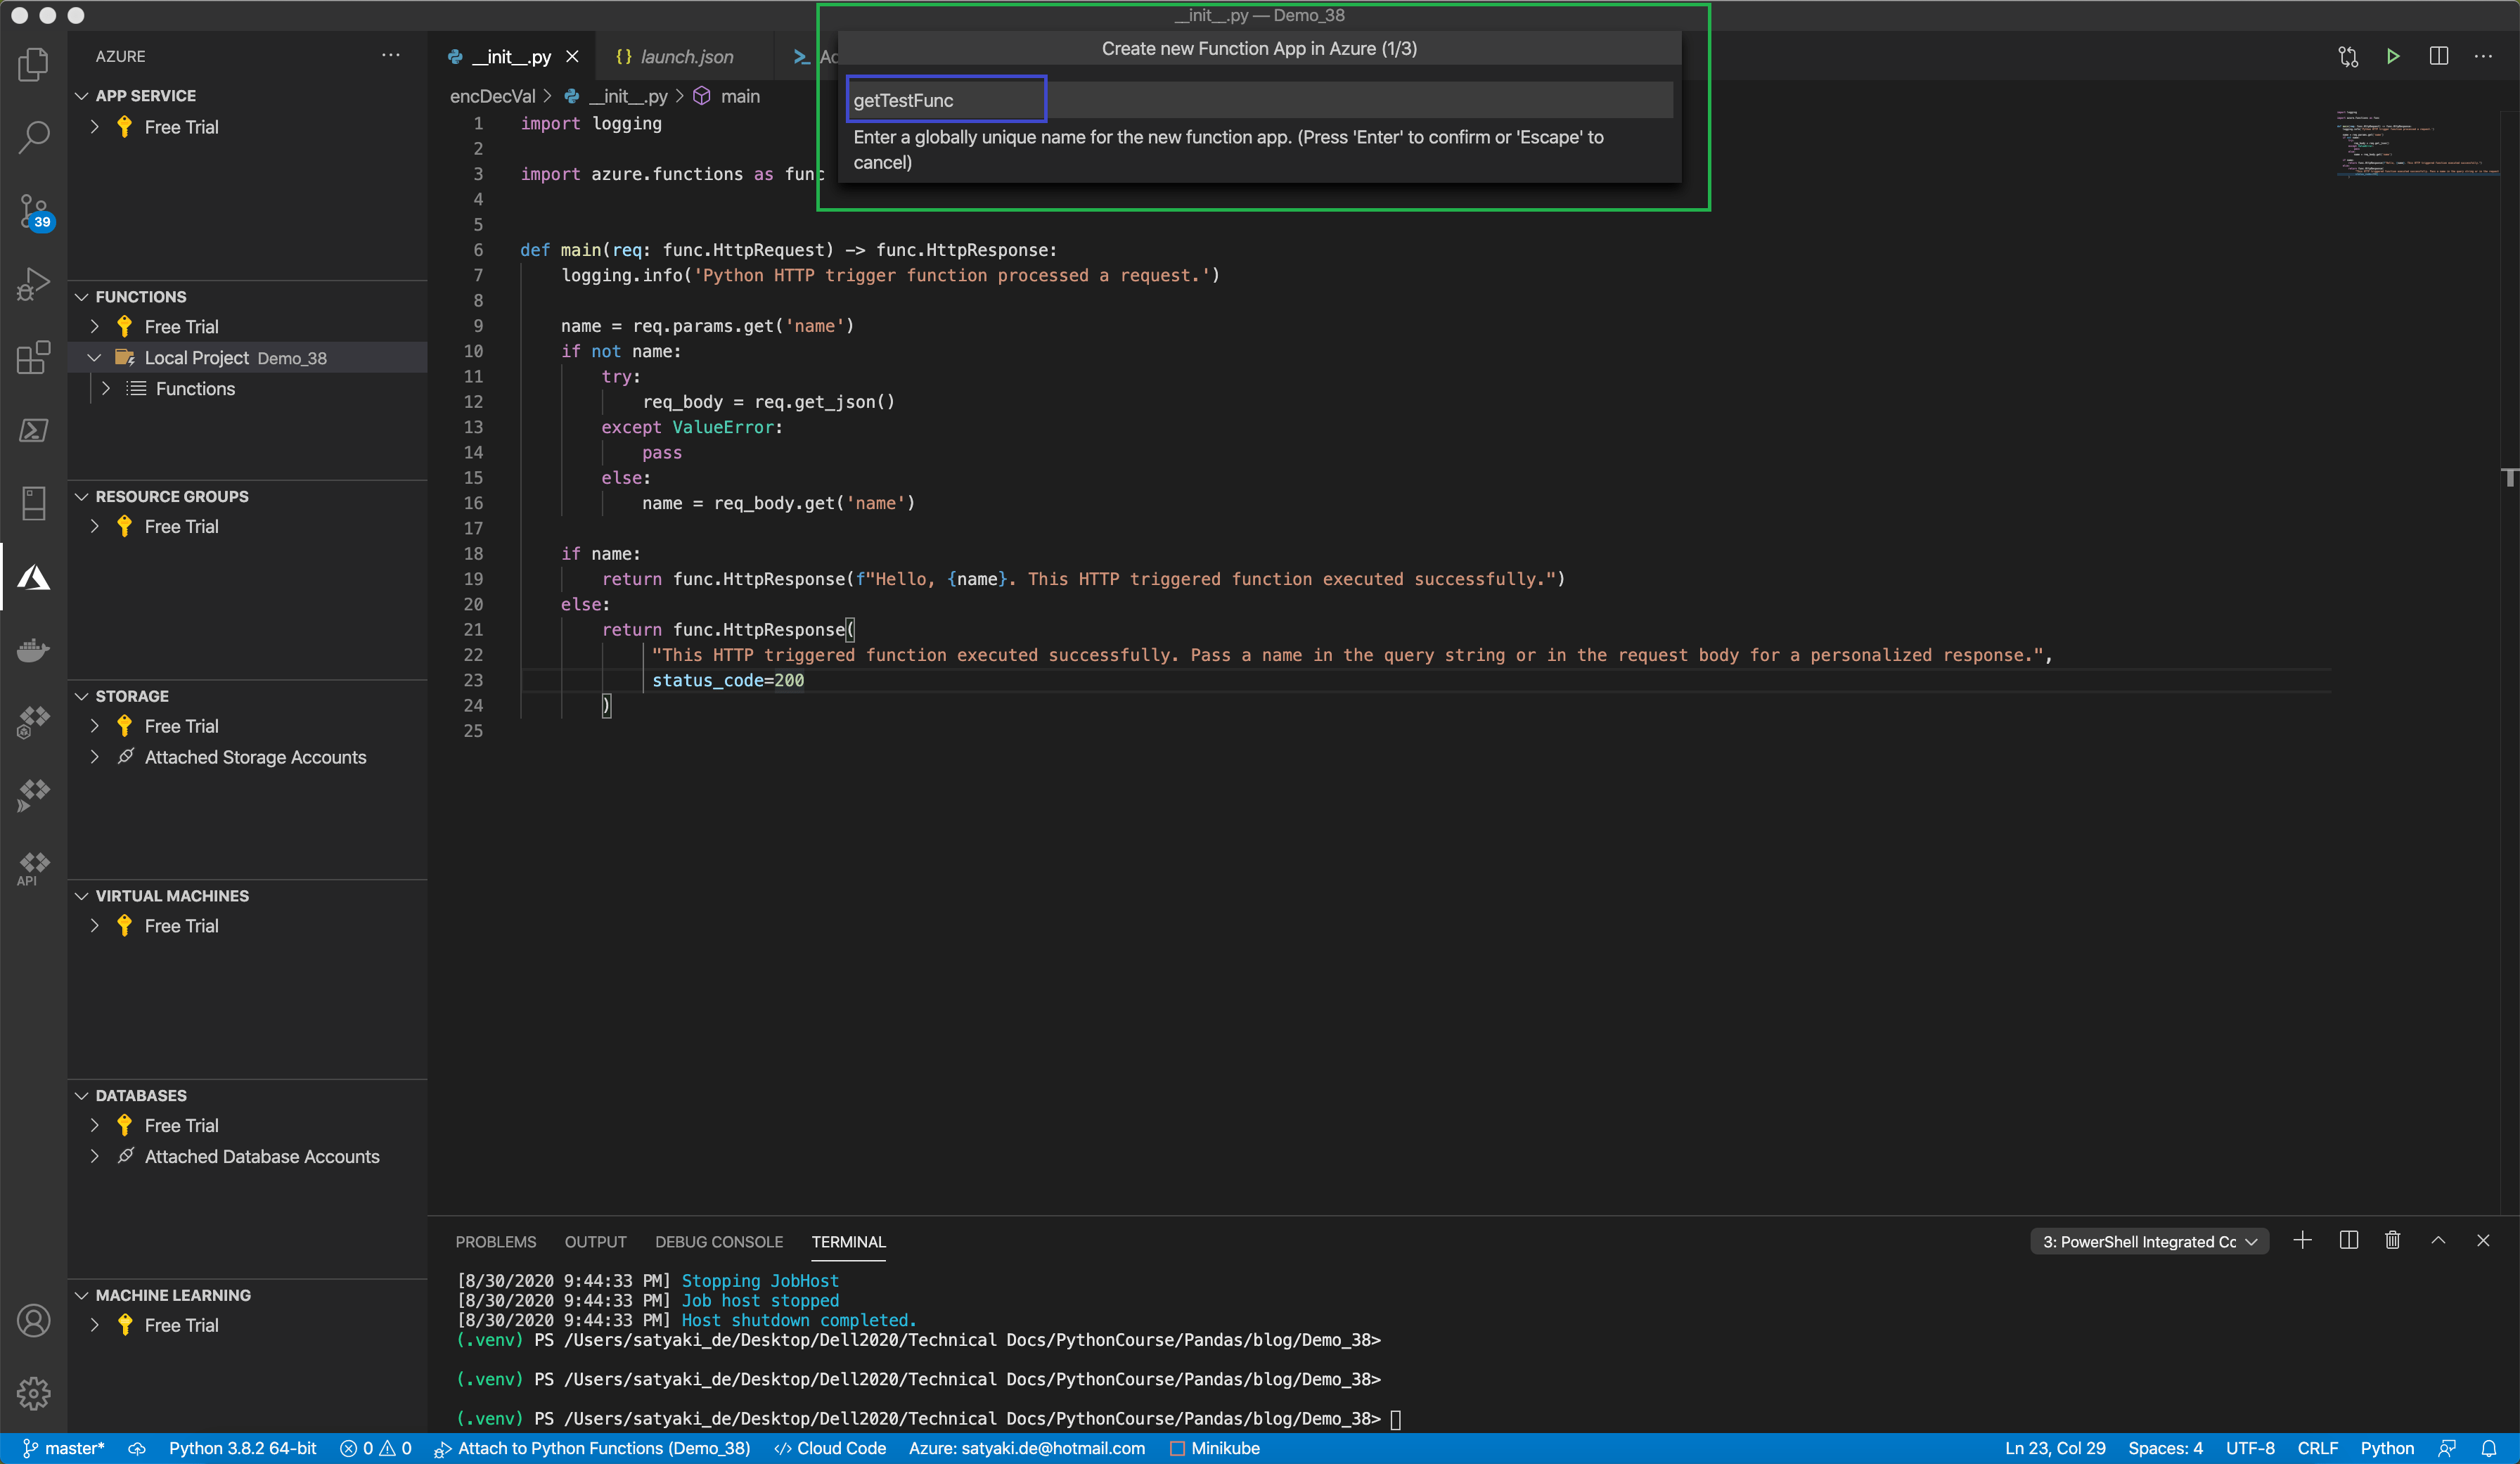
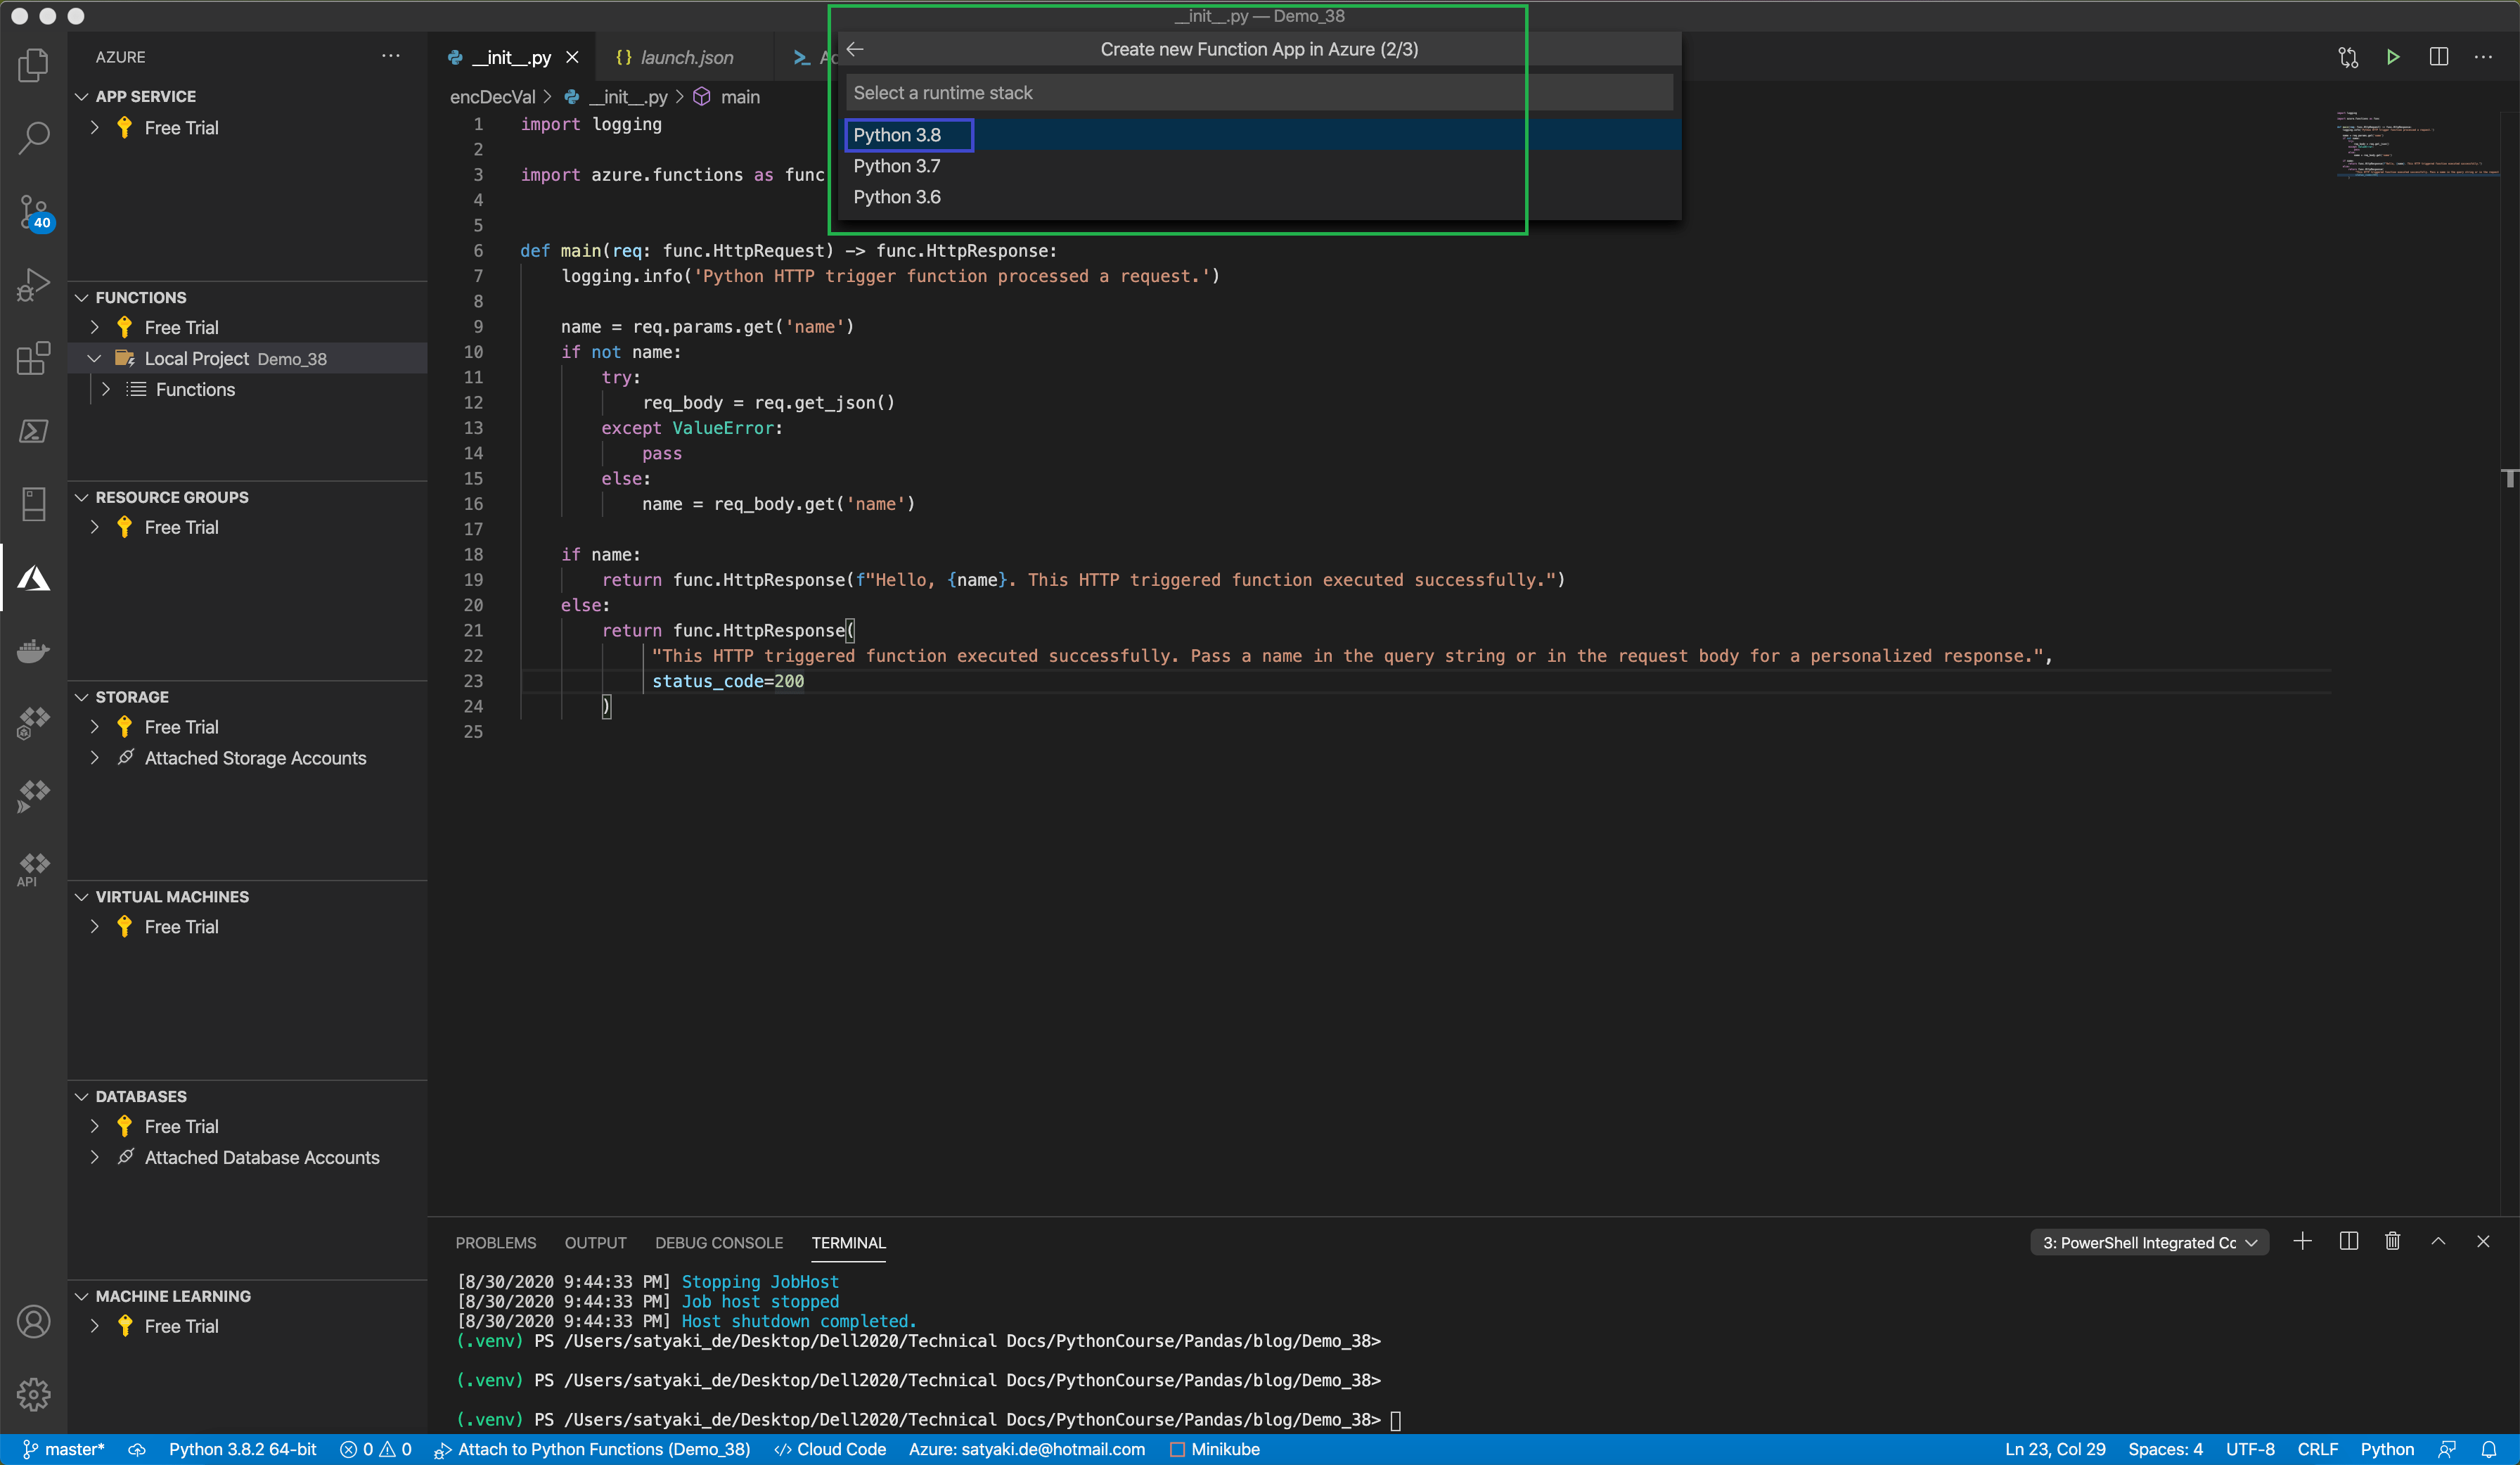
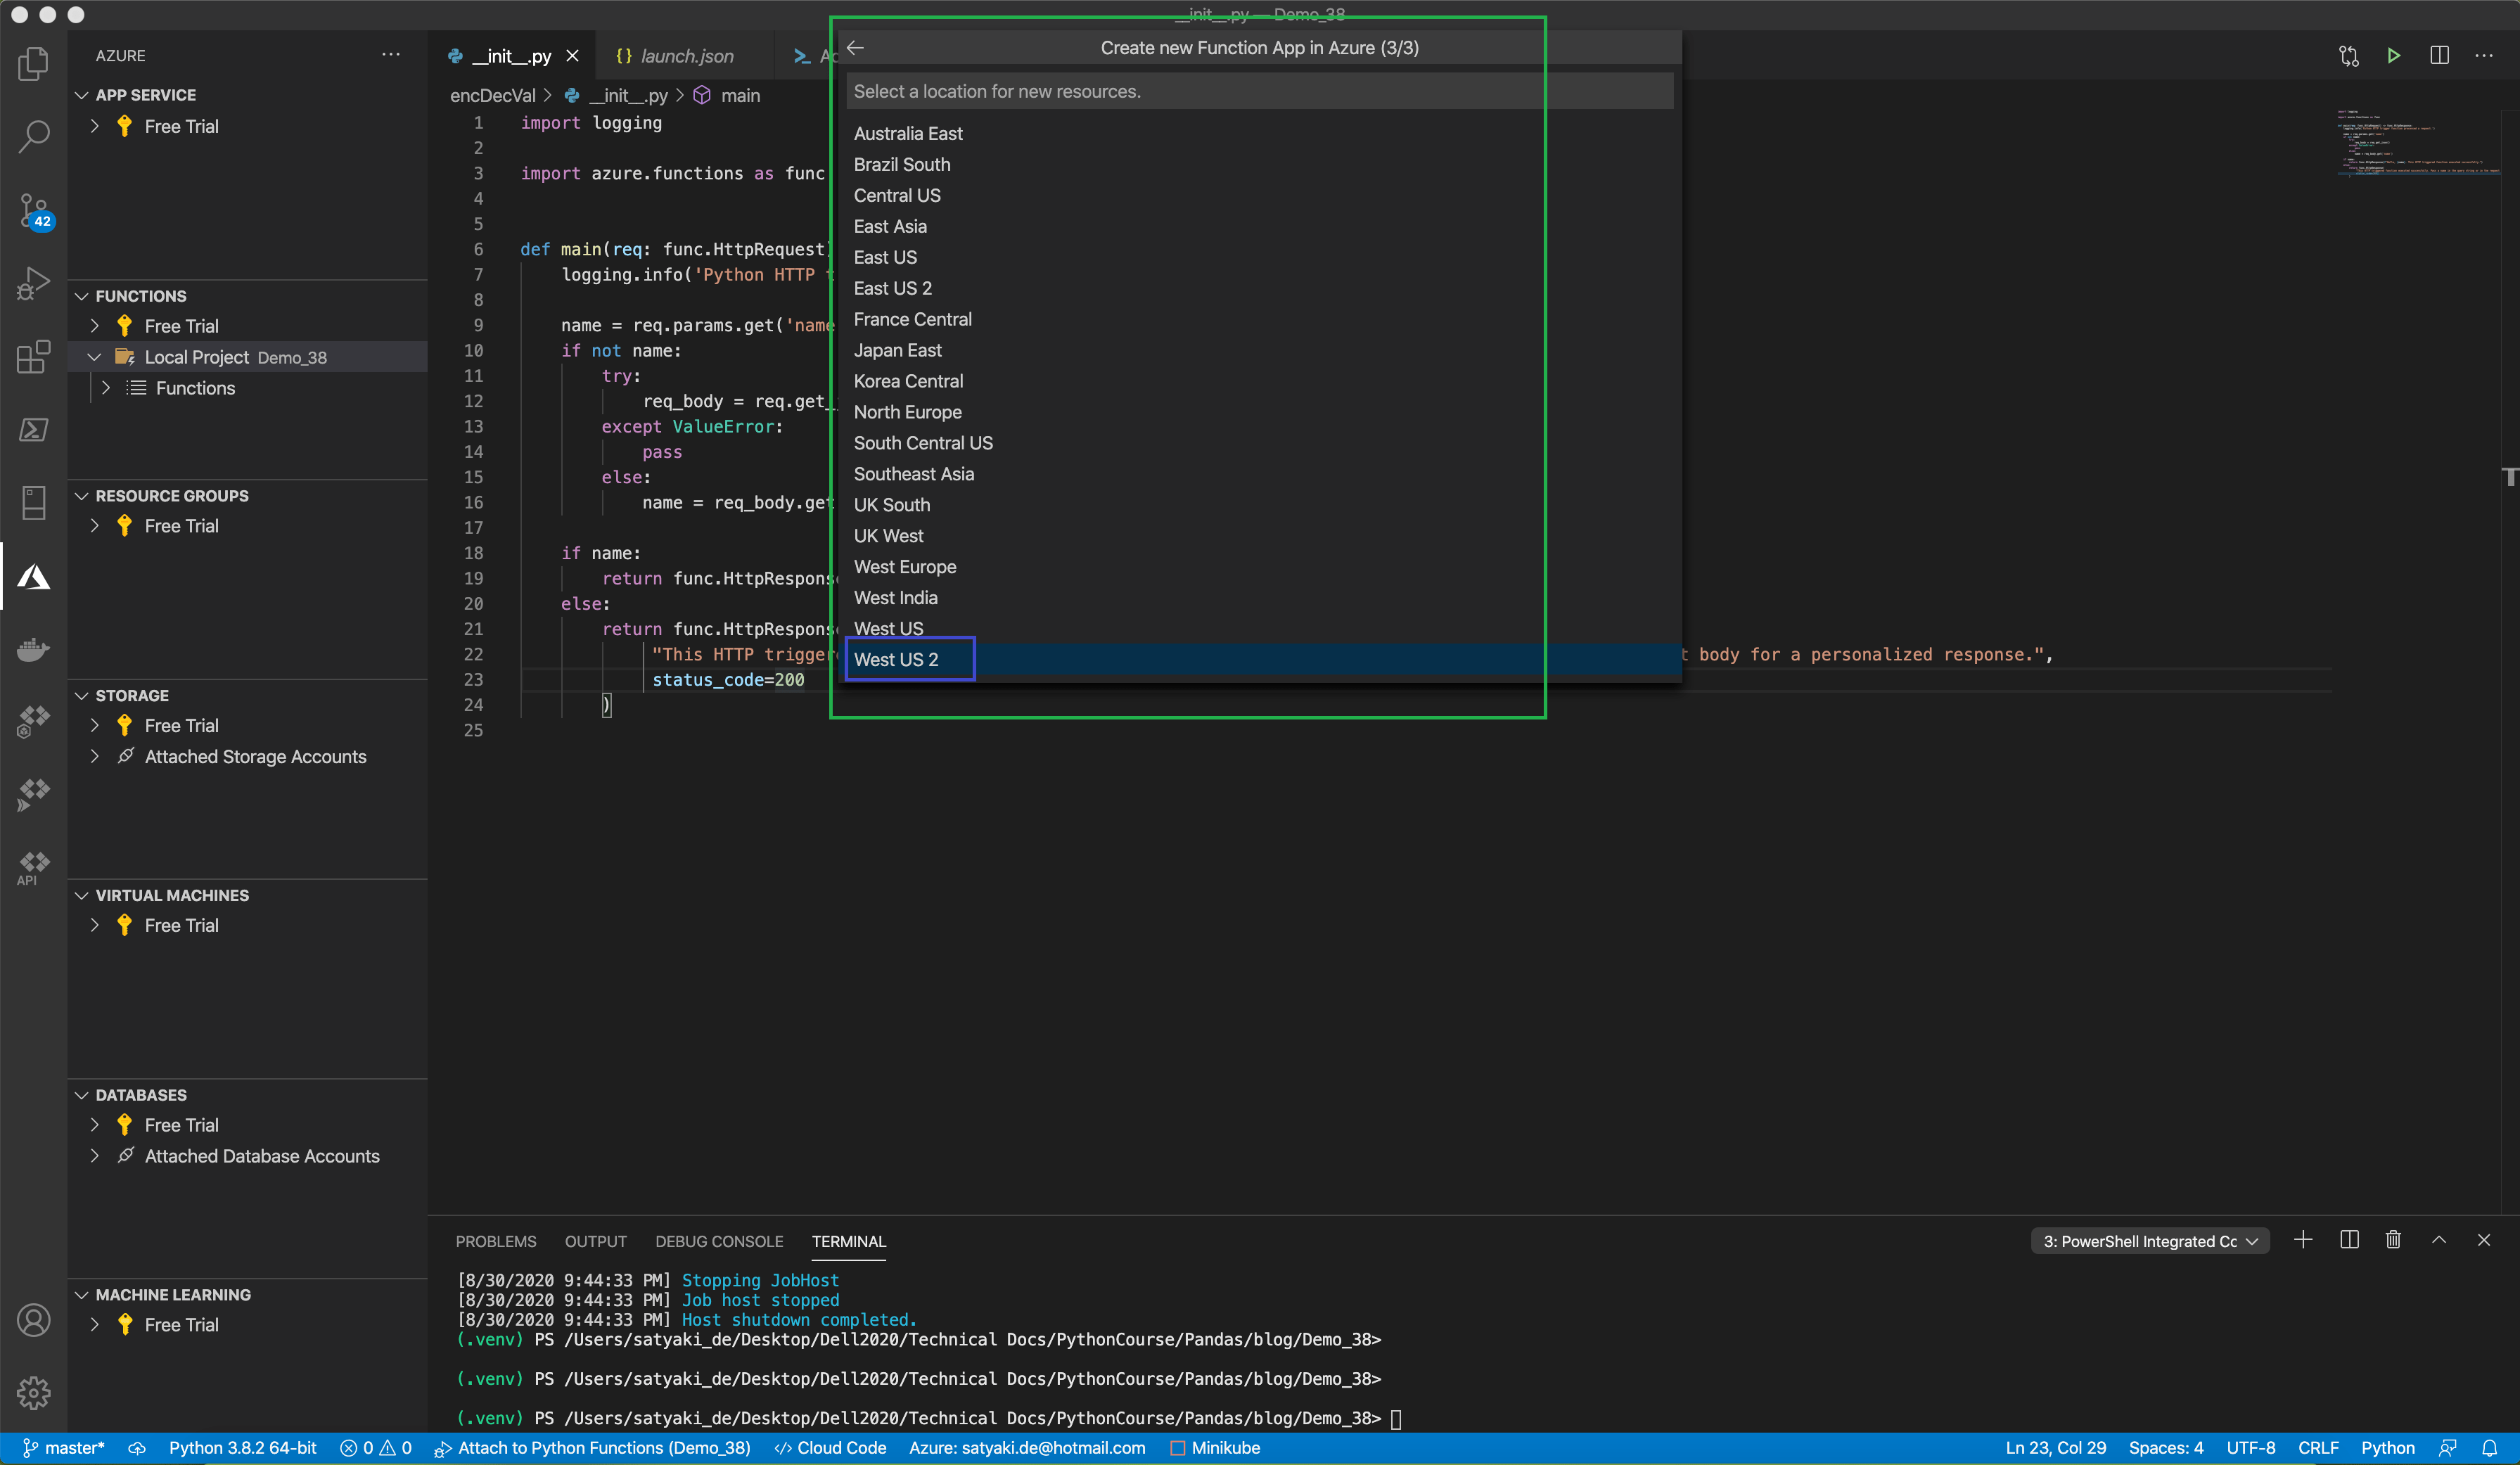
To create a new function, we’ll be creating a new project marked in the red-square box in the given picture –

It will lead to a series of following screens, which will create a dummy template for our azure function –


After these sequences mentioned above of steps, finally, we will come down to the next landing page –

Visual Studio Code provides a handy interface to run or debug the azure function. Please refer the following screen for the reference –

Following is the way to test the azure application from Postman –

Visual studio code puts all the existing debugging options available for the Azure function in Python, similar to all other Microsoft languages.
One might encounter failure when trying to run or debug the python function locally due to library binding issues with the azure virtual environment.
To solve the above problem, we need to update “Activate.ps1” – PATH variable as shown below –

To deploy this function, the following series of steps that we need to follow –

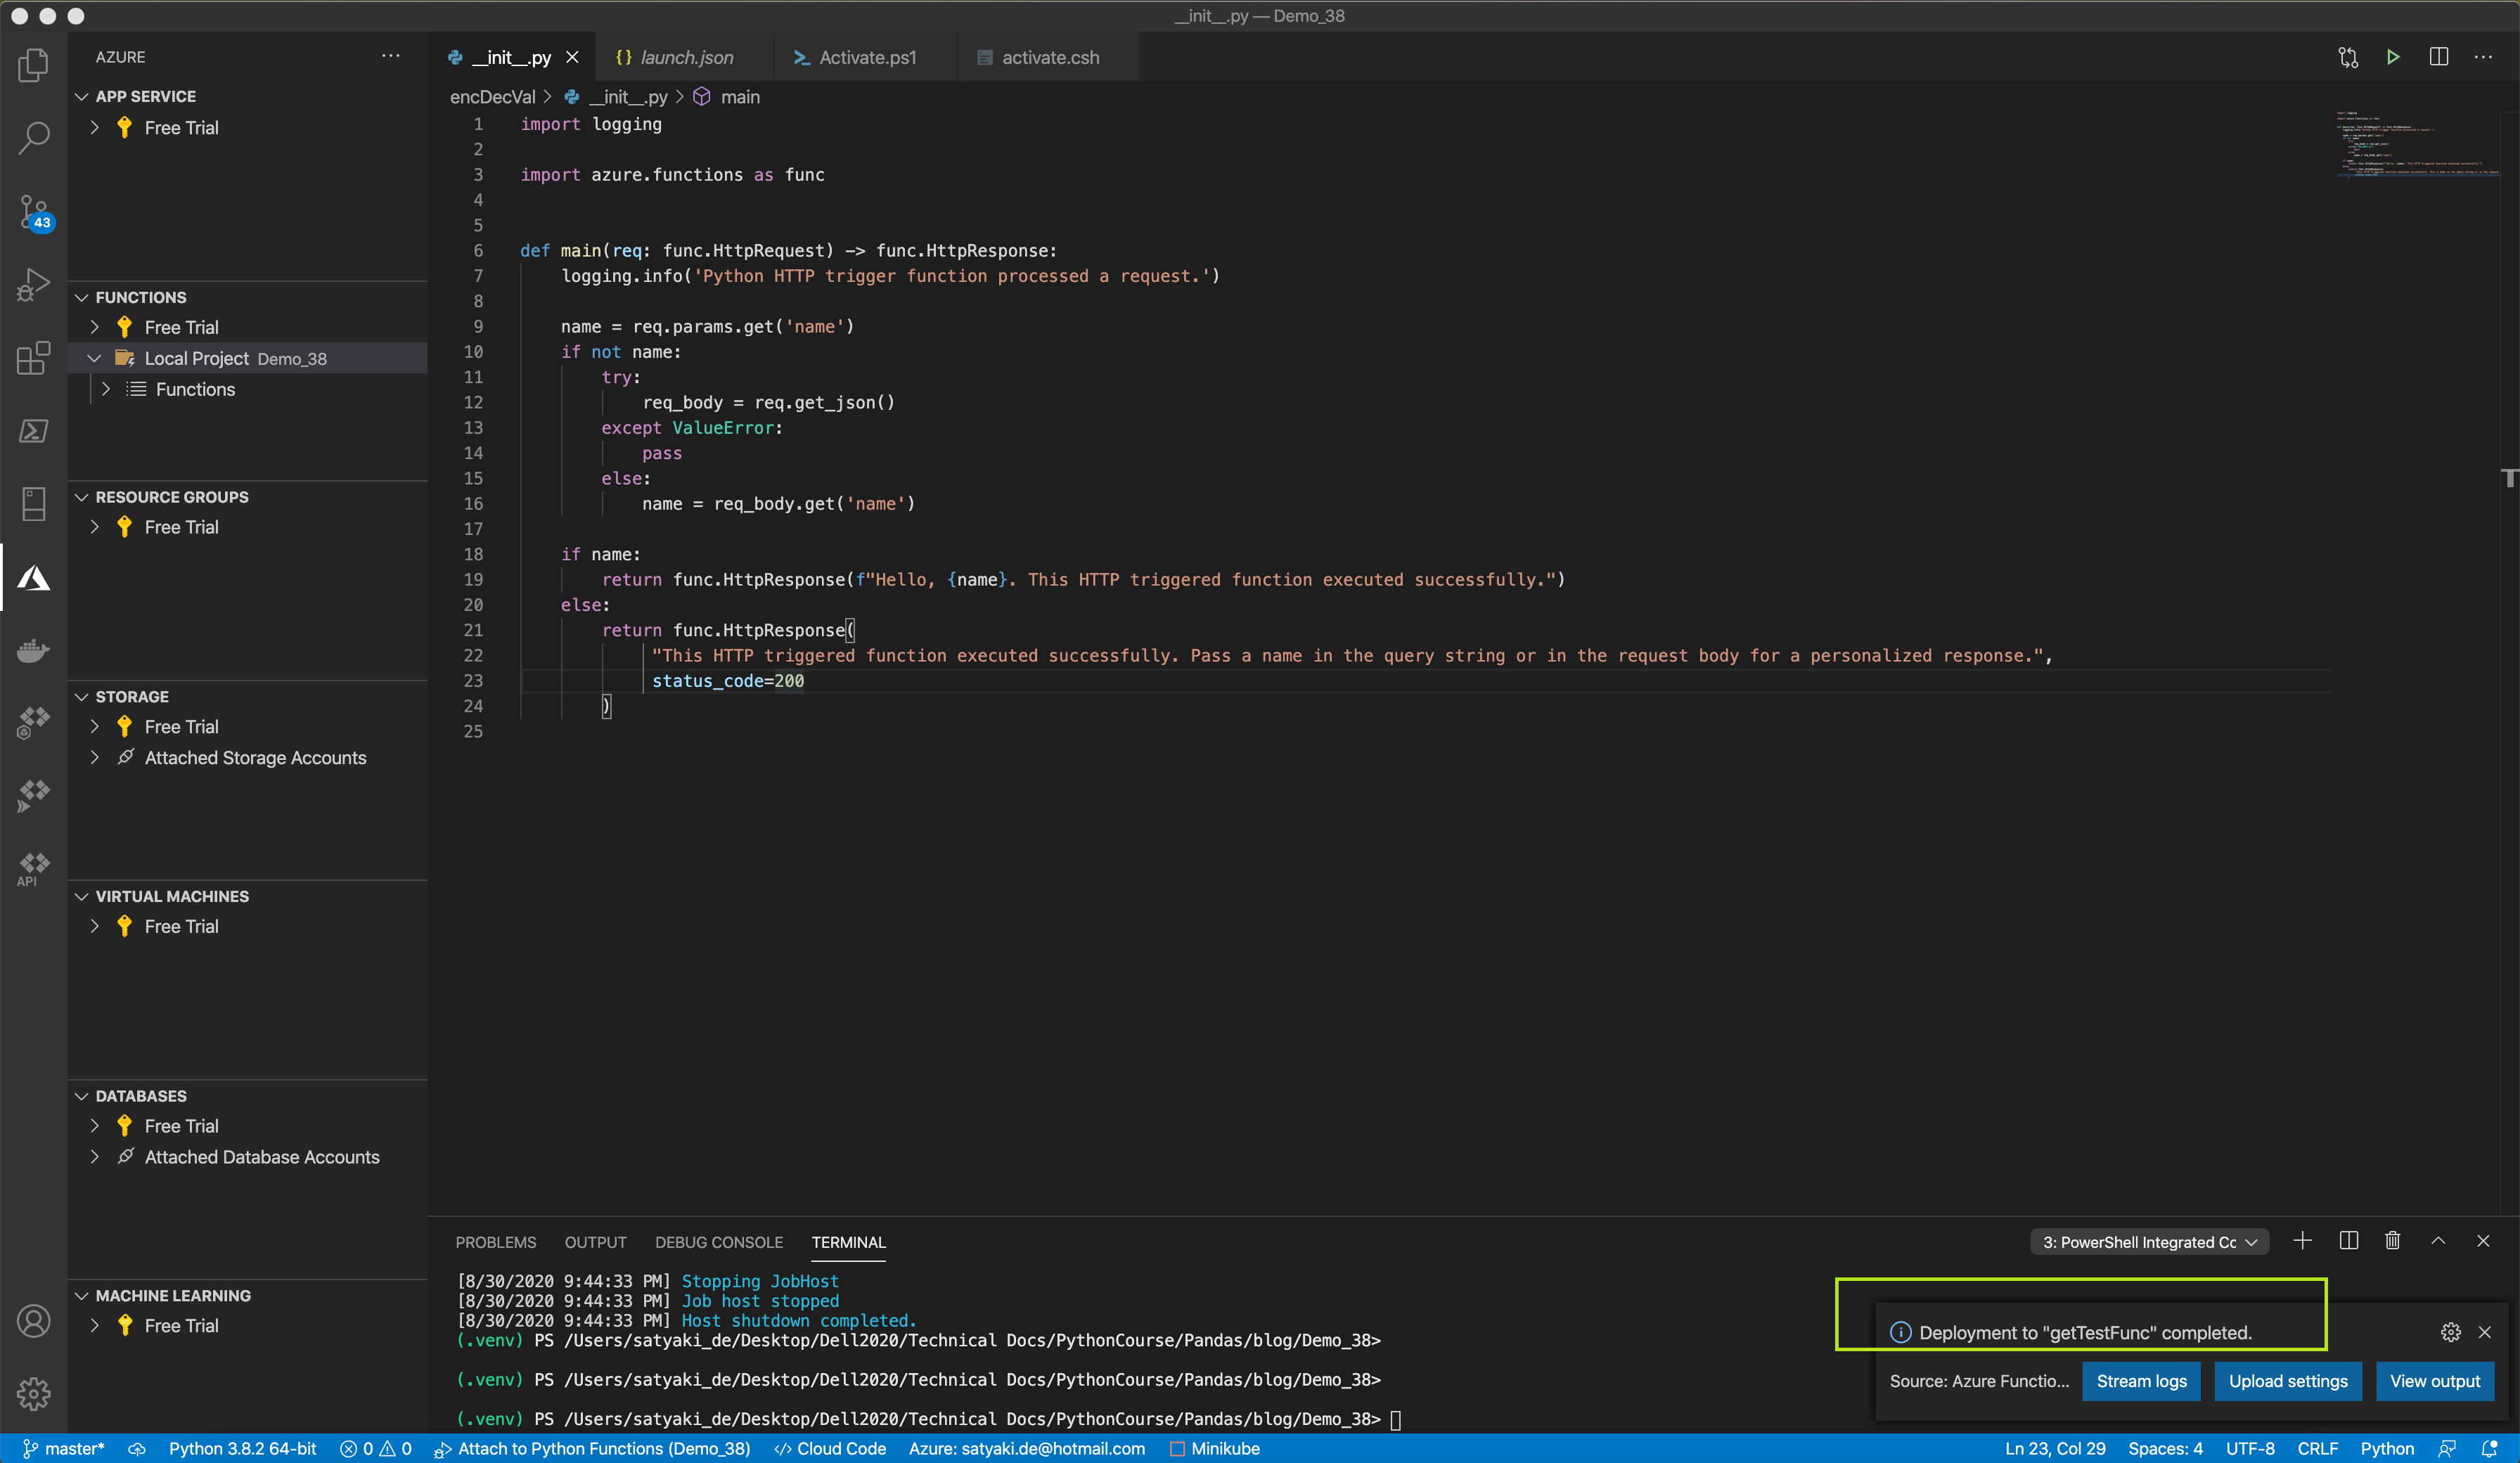
After this step, a series of the intermediate message will be shown at the bottom-right of the screen & finally the following message will be displayed if the deployment is successful –
Now, we can see this created azure function from the portal itself –

Now, we can test this deployed function through postman as follows –

However, we need to remember one thing before deploying the package that we need to capture all the dependent Python packages as shown in the following screen –

Similarly, we have converted our old Azure function as part of this new drive. Please find the main script, which we have modified –
- __init__.py
###########################################
#### Written By: SATYAKI DE            ####
#### Written On: 08-Jun-2019           ####
#### Package Flask package needs to    ####
#### install in order to run this      ####
#### script.                           ####
####                                   ####
#### Objective: Main Calling scripts.  ####
#### This is an autogenrate scripts.   ####
#### However, to meet the functionality####
#### we've enhanced as per our logic.  ####
###########################################
__all__ = ['clsFlask']

import logging
import azure.functions as func
import json

# from getVal.clsFlask import clsFlask
from . import clsFlask as cflask

getVal = cflask.clsFlask()

def main(req: func.HttpRequest) -> func.HttpResponse:
    logging.info('Python Encryption function processed a request.')

    str_val = 'Input Payload:: ' + str(req.get_json())
    str_1 = str(req.get_json())

    logging.info(str_val)

    ret_val = {}
    DataIn = ''
    dGroup = ''
    dTemplate = ''
    flg = ''

    if (str_1 != ''):
        try:
            req_body = req.get_json()
            dGroup = req_body.get('dataGroup')

            try:
                DataIn = req_body.get('data')
                strV15 = 'If Part:: ' + str(DataIn)

                logging.info(strV15)

                if ((DataIn == '') | (DataIn == None)):
                    raise ValueError

                flg = 'Y'
            except ValueError:
                DataIn = req_body.get('edata')
                strV15 = 'Else Part:: ' + str(DataIn)
                logging.info(strV15)
                flg = 'N'
            except:
                DataIn = req_body.get('edata')
                strV15 = 'Else Part:: ' + str(DataIn)
                logging.info(strV15)
                flg = 'N'

            dTemplate = req_body.get('dataTemplate')

        except ValueError:
            pass

    strV5 = "Encrypt Decrypt Flag:: " + flg
    logging.info(strV5)

    if (flg == 'Y'):

        if ((DataIn != '') & ((dGroup != '') & (dTemplate != ''))):

            logging.info("Encryption Started!")
            ret_val = getVal.getEncryptProcess(dGroup, DataIn, dTemplate)
            strVal2 = 'Return Payload:: ' + str(ret_val)
            logging.info(strVal2)

            # Forming Proper JSON
            encVal = {"dataEncrypt": ret_val}

            xval = json.dumps(encVal)

            return func.HttpResponse(xval)
        else:
            return func.HttpResponse(
                 "Please pass a data in the request body",
                 status_code=400
            )
    else:

        if ((DataIn != '') & ((dGroup != '') & (dTemplate != ''))):

            logging.info("Decryption Started!")
            ret_val2 = getVal.getDecryptProcess(dGroup, DataIn, dTemplate)
            strVal3 = 'Return Payload:: ' + str(ret_val)
            logging.info(strVal3)

            # Forming Proper JSON
            decVal = {"dataDecrypt": ret_val2}

            xval1 = json.dumps(decVal)

            return func.HttpResponse(xval1)
        else:
            return func.HttpResponse(
                "Please pass a data in the request body",
                status_code=400
            )
Only the change part, we are going to discuss here.
from . import clsFlask as cflask

getVal = cflask.clsFlask()
We will deploy our azure function after making necessary changes to the code & we can review our deployed encryption function from the following screen –

We can test this newly deployed advanced Azure function from Postman as shown below –

Following are the sequence of steps, by which we can explore the Azure monitor & log analytics & can extract meaningful data point out of our Azure function execution details –


So, finally, we have done it. We have successfully incorporated our old azure function & convert that as per the latest platform provided by the Microsoft Azure cloud. 🙂
I’ll bring some more exciting topic in the coming days from the Python verse.
Till then, Happy Avenging! 😀
Note: All the data & scenario posted here are representational data & scenarios & available over the internet & for educational purpose only.