
Hi Guys,
Today, I’ll be presenting a different kind of post here. I’ll be trying to predict health issues for senior citizens based on “realtime weather data” by blending open-source population data using some mock risk factor calculation. At the end of the post, I’ll be plotting these numbers into some graphs for better understanding.
Let’s drive!
For this first, we need realtime weather data. To do that, we need to subscribe to the data from OpenWeather API. For that, you have to register as a developer & you’ll receive a similar email from them once they have approved –

So, from the above picture, you can see that, you’ll be provided one API key & also offered a couple of useful API documentation. I would recommend exploring all the links before you try to use it.
You can also view your API key once you logged into their console. You can also create multiple API keys & the screen should look something like this –
 For security reasons, I’ll be hiding my own keys & the same should be applicable for you as well.
I would say many of these free APIs might have some issues. So, I would recommend you to start testing the open API through postman before you jump into the Python development. Here is the glimpse of my test through the postman –

Once, I can see that the API is returning the result. I can work on it.
Apart from that, one needs to understand that these API might have limited use & also you need to know the consequences in terms of price & tier in case if you exceeded the limit. Here is the detail for this API –

For our demo, I’ll be using the Free tire only.
Let’s look into our other source data. We got the top 10 city population-wise over there internet. Also, we have collected sample Senior Citizen percentage against sex ratio across those cities. We have masked these values on top of that as this is just for education purposes.
1. CityDetails.csv
Here is the glimpse of this file –

So, this file only contains the total population across the top 10 cities in the USA.
2. SeniorCitizen.csv

This file contains the Sex ratio of Senior citizens across those top 10 cities by population.
Again, we are not going to discuss any script, which we’ve already discussed here.
Hence, we’re skipping clsL.py here.
1. clsConfig.py (This script contains all the parameters of the server.)
1 2 3 4 5 6 7 8 9 10 11 12 13 14 15 16 17 18 19 20 21 22 23 24 25 26 27 28 29 30 31 32 33 34 35 36 37 38 39 40 41 42 43 44 45 46 |
############################################## #### Written By: SATYAKI DE #### #### Written On: 19-Jan-2019 #### #### #### #### Objective: This script is a config #### #### file, contains all the keys for #### #### azure cosmos db. Application will #### #### process these information & perform #### #### various CRUD operation on Cosmos DB. #### ############################################## import os import platform as pl class clsConfig(object): Curr_Path = os.path.dirname(os.path.realpath(__file__)) os_det = pl.system() if os_det == "Windows": sep = '\\' else: sep = '/' config = { 'APP_ID': 1, 'URL': "http://api.openweathermap.org/data/2.5/weather", 'API_HOST': "api.openweathermap.org", 'API_KEY': "XXXXXXXXXXXXXXXXXXXXXX", 'API_TYPE': "application/json", 'CACHE': "no-cache", 'CON': "keep-alive", 'ARCH_DIR': Curr_Path + sep + 'arch' + sep, 'PROFILE_PATH': Curr_Path + sep + 'profile' + sep, 'LOG_PATH': Curr_Path + sep + 'log' + sep, 'REPORT_PATH': Curr_Path + sep + 'report', 'SRC_PATH': Curr_Path + sep + 'Src_File' + sep, 'APP_DESC_1': 'Open Weather Forecast', 'DEBUG_IND': 'N', 'INIT_PATH': Curr_Path, 'SRC_FILE': Curr_Path + sep + 'Src_File' + sep + 'CityDetails.csv', 'SRC_FILE_1': Curr_Path + sep + 'Src_File' + sep + 'SeniorCitizen.csv', 'SRC_FILE_INIT': 'CityDetails.csv', 'COL_LIST': ['base', 'all', 'cod', 'lat', 'lon', 'dt', 'feels_like', 'humidity', 'pressure', 'temp', 'temp_max', 'temp_min', 'name', 'country', 'sunrise', 'sunset', 'type', 'timezone', 'visibility', 'weather', 'deg', 'gust', 'speed'], 'COL_LIST_1': ['base', 'all', 'cod', 'lat', 'lon', 'dt', 'feels_like', 'humidity', 'pressure', 'temp', 'temp_max', 'temp_min', 'CityName', 'country', 'sunrise', 'sunset', 'type', 'timezone', 'visibility', 'deg', 'gust', 'speed', 'WeatherMain', 'WeatherDescription'], 'COL_LIST_2': ['CityName', 'Population', 'State'] } |
2. clsWeather.py (This script contains the main logic to extract the realtime data from our subscribed weather API.)
1 2 3 4 5 6 7 8 9 10 11 12 13 14 15 16 17 18 19 20 21 22 23 24 25 26 27 28 29 30 31 32 33 34 35 36 37 38 39 40 41 42 43 44 45 46 47 48 49 50 51 52 53 54 55 56 57 58 59 60 61 |
############################################## #### Written By: SATYAKI DE #### #### Written On: 19-Jan-2020 #### #### Modified On 19-Jan-2020 #### #### #### #### Objective: Main scripts to invoke #### #### Indian Railway API. #### ############################################## import requests import logging import json from clsConfig import clsConfig as cf class clsWeather: def __init__(self): self.url = cf.config['URL'] self.openmapapi_host = cf.config['API_HOST'] self.openmapapi_key = cf.config['API_KEY'] self.openmapapi_cache = cf.config['CACHE'] self.openmapapi_con = cf.config['CON'] self.type = cf.config['API_TYPE'] def searchQry(self, rawQry): try: url = self.url openmapapi_host = self.openmapapi_host openmapapi_key = self.openmapapi_key openmapapi_cache = self.openmapapi_cache openmapapi_con = self.openmapapi_con type = self.type querystring = {"appid": openmapapi_key, "q": rawQry} print('Input JSON: ', str(querystring)) headers = { 'host': openmapapi_host, 'content-type': type, 'Cache-Control': openmapapi_cache, 'Connection': openmapapi_con } response = requests.request("GET", url, headers=headers, params=querystring) ResJson = response.text jdata = json.dumps(ResJson) ResJson = json.loads(jdata) return ResJson except Exception as e: ResJson = '' x = str(e) print(x) logging.info(x) ResJson = {'errorDetails': x} return ResJson |
The key lines from this script –
querystring = {"appid": openmapapi_key, "q": rawQry}

print('Input JSON: ', str(querystring))

headers = {
    'host': openmapapi_host,
    'content-type': type,
    'Cache-Control': openmapapi_cache,
    'Connection': openmapapi_con
}

response = requests.request("GET", url, headers=headers, params=querystring)

ResJson  = response.text
In the above snippet, our application first preparing the payload & the parameters received from our param script. And then invoke the GET method to extract the real-time data in the form of JSON & finally sending the JSON payload to the primary calling function.
3. clsMap.py (This script contains the main logic to prepare the MAP using seaborn package & try to plot our custom made risk factor by blending the realtime data with our statistical data received over the internet.)
1 2 3 4 5 6 7 8 9 10 11 12 13 14 15 16 17 18 19 20 21 22 23 24 25 26 27 28 29 30 31 32 33 34 35 36 37 38 39 40 41 42 43 44 45 46 47 48 49 50 51 52 53 54 55 56 57 58 59 60 61 62 63 64 65 66 67 68 69 70 71 72 73 74 75 76 77 78 79 80 81 82 83 84 85 86 87 88 89 90 91 92 93 94 95 96 97 98 99 100 101 102 103 104 105 106 107 108 109 110 111 112 113 114 115 116 117 118 119 |
############################################## #### Written By: SATYAKI DE #### #### Written On: 19-Jan-2020 #### #### Modified On 19-Jan-2020 #### #### #### #### Objective: Main scripts to invoke #### #### plot into the Map. #### ############################################## import seaborn as sns import logging from clsConfig import clsConfig as cf import pandas as p import clsL as cl # This library requires later # to print the chart import matplotlib.pyplot as plt class clsMap: def __init__(self): self.src_file = cf.config['SRC_FILE_1'] def calculateRisk(self, row): try: # Let's assume some logic # 1. By default, 30% of Senior Citizen # prone to health Issue for each City # 2. Male Senior Citizen is 19% more prone # to illness than female. # 3. If humidity more than 70% or less # than 40% are 22% main cause of illness # 4. If feels like more than 280 or # less than 260 degree are 17% more prone # to illness. # Finally, this will be calculated per 1K # people around 10 blocks str_sex = str(row['Sex']) int_humidity = int(row['humidity']) int_feelsLike = int(row['feels_like']) int_population = int(str(row['Population']).replace(',','')) float_srcitizen = float(row['SeniorCitizen']) confidance_score = 0.0 SeniorCitizenPopulation = (int_population * float_srcitizen) if str_sex == 'Male': confidance_score = (SeniorCitizenPopulation * 0.30 * 0.19) + confidance_score else: confidance_score = (SeniorCitizenPopulation * 0.30 * 0.11) + confidance_score if ((int_humidity > 70) | (int_humidity < 40)): confidance_score = confidance_score + (int_population * 0.30 * float_srcitizen) * 0.22 if ((int_feelsLike > 280) | (int_feelsLike < 260)): confidance_score = confidance_score + (int_population * 0.30 * float_srcitizen) * 0.17 final_score = round(round(confidance_score, 2) / (1000 * 10), 2) return final_score except Exception as e: x = str(e) return x def setMap(self, dfInput): try: resVal = 0 df = p.DataFrame() debug_ind = 'Y' src_file = self.src_file # Initiating Log Class l = cl.clsL() df = dfInput # Creating a subset of desired columns dfMod = df[['CityName', 'temp', 'Population', 'humidity', 'feels_like']] l.logr('5.dfSuppliment.csv', debug_ind, dfMod, 'log') # Fetching Senior Citizen Data df = p.read_csv(src_file, index_col=False) # Merging two frames dfMerge = p.merge(df, dfMod, on=['CityName']) l.logr('6.dfMerge.csv', debug_ind, dfMerge, 'log') # Getting RiskFactor quotient from our custom made logic dfMerge['RiskFactor'] = dfMerge.apply(lambda row: self.calculateRisk(row), axis=1) l.logr('7.dfRiskFactor.csv', debug_ind, dfMerge, 'log') # Generating Map plotss # sns.lmplot(x='RiskFactor', y='SeniorCitizen', data=dfMerge, hue='Sex') # sns.lmplot(x='RiskFactor', y='SeniorCitizen', data=dfMerge, hue='Sex', markers=['o','v'], scatter_kws={'s':25}) sns.lmplot(x='RiskFactor', y='SeniorCitizen', data=dfMerge, col='Sex') # This is required when you are running # through normal Python & not through # Jupyter Notebook plt.show() return resVal except Exception as e: x = str(e) print(x) logging.info(x) resVal = x return resVal |
Key lines from the above codebase –
# Creating a subset of desired columns
dfMod = df[['CityName', 'temp', 'Population', 'humidity', 'feels_like']]

l.logr('5.dfSuppliment.csv', debug_ind, dfMod, 'log')

# Fetching Senior Citizen Data
df = p.read_csv(src_file, index_col=False)

# Merging two frames
dfMerge = p.merge(df, dfMod, on=['CityName'])

l.logr('6.dfMerge.csv', debug_ind, dfMerge, 'log')

# Getting RiskFactor quotient from our custom made logic
dfMerge['RiskFactor'] = dfMerge.apply(lambda row: self.calculateRisk(row), axis=1)

l.logr('7.dfRiskFactor.csv', debug_ind, dfMerge, 'log')
Combining our Senior Citizen data with already processed data coming from our primary calling script. Also, here the application is calculating our custom logic to find out the risk factor figures. If you want to go through that, I’ve provided the logic to derive it. However, this is just a demo to find out similar figures. You should not rely on the logic that I’ve used (It is kind of my observation of life till now. :D).
The below lines are only required when you are running seaborn, not via Jupyter notebook.
plt.show()4. callOpenMapWeatherAPI.py (This is the first calling script. This script also calls the realtime API & then blend the first file with it & pass the only relevant columns of data to our Map script to produce the graph.)
1 2 3 4 5 6 7 8 9 10 11 12 13 14 15 16 17 18 19 20 21 22 23 24 25 26 27 28 29 30 31 32 33 34 35 36 37 38 39 40 41 42 43 44 45 46 47 48 49 50 51 52 53 54 55 56 57 58 59 60 61 62 63 64 65 66 67 68 69 70 71 72 73 74 75 76 77 78 79 80 81 82 83 84 85 86 87 88 89 90 91 92 93 94 95 96 97 98 99 100 101 102 103 104 105 106 107 108 109 110 111 112 113 114 115 116 117 118 119 120 121 122 123 124 125 126 127 128 129 130 131 132 133 134 135 136 137 138 139 140 141 142 143 144 145 146 147 148 149 150 151 152 153 154 155 156 157 158 159 160 161 162 163 164 165 166 167 168 169 170 171 172 173 174 175 176 177 178 179 180 181 182 183 184 185 186 187 188 189 190 191 192 193 194 195 196 197 198 199 200 201 202 203 204 205 206 207 208 209 210 211 212 213 214 215 216 217 218 219 220 221 222 223 224 225 226 227 228 229 230 231 |
############################################## #### Written By: SATYAKI DE #### #### Written On: 19-Jan-2020 #### #### Modified On 19-Jan-2020 #### #### #### #### Objective: Main calling scripts. #### ############################################## from clsConfig import clsConfig as cf import pandas as p import clsL as cl import logging import datetime import json import clsWeather as ct import re import numpy as np import clsMap as cm # Disbling Warning def warn(*args, **kwargs): pass import warnings warnings.warn = warn # Lookup functions from # Azure cloud SQL DB var = datetime.datetime.now().strftime("%Y-%m-%d_%H-%M-%S") def getMainWeather(row): try: # Using regular expression to fetch time part only lkp_Columns = str(row['weather']) jpayload = str(lkp_Columns).replace("'", '"') #jpayload = json.dumps(lkp_Columns) payload = json.loads(jpayload) df_lkp = p.io.json.json_normalize(payload) df_lkp.columns = df_lkp.columns.map(lambda x: x.split(".")[-1]) str_main_weather = str(df_lkp.iloc[0]['main']) return str_main_weather except Exception as e: x = str(e) str_main_weather = x return str_main_weather def getMainDescription(row): try: # Using regular expression to fetch time part only lkp_Columns = str(row['weather']) jpayload = str(lkp_Columns).replace("'", '"') #jpayload = json.dumps(lkp_Columns) payload = json.loads(jpayload) df_lkp = p.io.json.json_normalize(payload) df_lkp.columns = df_lkp.columns.map(lambda x: x.split(".")[-1]) str_description = str(df_lkp.iloc[0]['description']) return str_description except Exception as e: x = str(e) str_description = x return str_description def main(): try: dfSrc = p.DataFrame() df_ret = p.DataFrame() ret_2 = '' debug_ind = 'Y' general_log_path = str(cf.config['LOG_PATH']) # Enabling Logging Info logging.basicConfig(filename=general_log_path + 'consolidatedIR.log', level=logging.INFO) # Initiating Log Class l = cl.clsL() # Moving previous day log files to archive directory arch_dir = cf.config['ARCH_DIR'] log_dir = cf.config['LOG_PATH'] col_list = cf.config['COL_LIST'] col_list_1 = cf.config['COL_LIST_1'] col_list_2 = cf.config['COL_LIST_2'] tmpR0 = "*" * 157 logging.info(tmpR0) tmpR9 = 'Start Time: ' + str(var) logging.info(tmpR9) logging.info(tmpR0) print("Archive Directory:: ", arch_dir) print("Log Directory::", log_dir) tmpR1 = 'Log Directory::' + log_dir logging.info(tmpR1) df2 = p.DataFrame() src_file = cf.config['SRC_FILE'] # Fetching data from source file df = p.read_csv(src_file, index_col=False) # Creating a list of City Name from the source file city_list = df['CityName'].tolist() # Declaring an empty dictionary merge_dict = {} merge_dict['city'] = df2 start_pos = 1 src_file_name = '1.' + cf.config['SRC_FILE_INIT'] for i in city_list: x1 = ct.clsWeather() ret_2 = x1.searchQry(i) # Capturing the JSON Payload res = json.loads(ret_2) # Converting dictionary to Pandas Dataframe # df_ret = p.read_json(ret_2, orient='records') df_ret = p.io.json.json_normalize(res) df_ret.columns = df_ret.columns.map(lambda x: x.split(".")[-1]) # Removing any duplicate columns df_ret = df_ret.loc[:, ~df_ret.columns.duplicated()] # l.logr(str(start_pos) + '.1.' + src_file_name, debug_ind, df_ret, 'log') start_pos = start_pos + 1 # If all the conversion successful # you won't get any gust column # from OpenMap response. Hence, we # need to add dummy reason column # to maintain the consistent structures if 'gust' not in df_ret.columns: df_ret = df_ret.assign(gust=999999)[['gust'] + df_ret.columns.tolist()] # Resetting the column orders as per JSON column_order = col_list df_mod_ret = df_ret.reindex(column_order, axis=1) if start_pos == 1: merge_dict['city'] = df_mod_ret else: d_frames = [merge_dict['city'], df_mod_ret] merge_dict['city'] = p.concat(d_frames) start_pos += 1 for k, v in merge_dict.items(): l.logr(src_file_name, debug_ind, merge_dict[k], 'log') # Now opening the temporary file temp_log_file = log_dir + src_file_name dfNew = p.read_csv(temp_log_file, index_col=False) # Extracting Complex columns dfNew['WeatherMain'] = dfNew.apply(lambda row: getMainWeather(row), axis=1) dfNew['WeatherDescription'] = dfNew.apply(lambda row: getMainDescription(row), axis=1) l.logr('2.dfNew.csv', debug_ind, dfNew, 'log') # Removing unwanted columns & Renaming key columns dfNew.drop(['weather'], axis=1, inplace=True) dfNew.rename(columns={'name': 'CityName'}, inplace=True) l.logr('3.dfNewMod.csv', debug_ind, dfNew, 'log') # Now joining with the main csv # to get the complete picture dfMain = p.merge(df, dfNew, on=['CityName']) l.logr('4.dfMain.csv', debug_ind, dfMain, 'log') # Let's extract only relevant columns dfSuppliment = dfMain[['CityName', 'Population', 'State', 'country', 'feels_like', 'humidity', 'pressure', 'temp', 'temp_max', 'temp_min', 'visibility', 'deg', 'gust', 'speed', 'WeatherMain', 'WeatherDescription']] l.logr('5.dfSuppliment.csv', debug_ind, dfSuppliment, 'log') # Let's pass this to our map section x2 = cm.clsMap() ret_3 = x2.setMap(dfSuppliment) if ret_3 == 0: print('Successful Map Generated!') else: print('Please check the log for further issue!') print("-" * 60) print() print('Finding Story points..') print("*" * 157) logging.info('Finding Story points..') logging.info(tmpR0) tmpR10 = 'End Time: ' + str(var) logging.info(tmpR10) logging.info(tmpR0) except ValueError as e: print(str(e)) print("No relevant data to proceed!") logging.info("No relevant data to proceed!") except Exception as e: print("Top level Error: args:{0}, message{1}".format(e.args, e.message)) if __name__ == "__main__": main() |
Key snippet from the above script –
# Capturing the JSON Payload
res = json.loads(ret_2)

# Converting dictionary to Pandas Dataframe
df_ret = p.io.json.json_normalize(res)
df_ret.columns = df_ret.columns.map(lambda x: x.split(".")[-1])
Once the application received the JSON response from the realtime API, the application is converting it to pandas dataframe.
# Removing any duplicate columns
df_ret = df_ret.loc[:, ~df_ret.columns.duplicated()]
Since this is a complex JSON response. The application might encounter duplicate columns, which might cause a problem later. Hence, our app is removing all these duplicate columns as they are not required for our cases.
if 'gust' not in df_ret.columns:
    df_ret = df_ret.assign(gust=999999)[['gust'] + df_ret.columns.tolist()]
There is a possibility that the application might not receive all the desired attributes from the realtime API. Hence, the above lines will check & add a dummy column named gust for those records in case if they are not present in the JSON response.
if start_pos == 1:
    merge_dict['city'] = df_mod_ret
else:
    d_frames = [merge_dict['city'], df_mod_ret]
    merge_dict['city'] = p.concat(d_frames)
These few lines required as our API has a limitation of responding with only one city at a time. Hence, in this case, we’re retrieving one town at a time & finally merge them into a single dataframe before creating a temporary source file for the next step.
At this moment our data should look like this –

Let’s check the weather column. We need to extract the main & description for our dashboard, which will be coming in the next installment.
# Extracting Complex columns
dfNew['WeatherMain'] = dfNew.apply(lambda row: getMainWeather(row), axis=1)
dfNew['WeatherDescription'] = dfNew.apply(lambda row: getMainDescription(row), axis=1)
Hence, we’ve used the following two functions to extract these values & the critical snippet from one of the service is as follows –
lkp_Columns = str(row['weather'])
jpayload = str(lkp_Columns).replace("'", '"')
payload = json.loads(jpayload)

df_lkp = p.io.json.json_normalize(payload)
df_lkp.columns = df_lkp.columns.map(lambda x: x.split(".")[-1])

str_main_weather = str(df_lkp.iloc[0]['main'])
The above lines extracting the weather column & replacing the single quotes with the double quotes before the application is trying to convert that to JSON. Once it converted to JSON, the json_normalize will easily serialize it & create individual columns out of it. Once you have them captured inside the pandas dataframe, you can extract the unique values & store them & return them to your primary calling function.
# Let's pass this to our map section
x2 = cm.clsMap()
ret_3 = x2.setMap(dfSuppliment)

if ret_3 == 0:
    print('Successful Map Generated!')
else:
    print('Please check the log for further issue!')
In the above lines, the application will invoke the Map class to calculate the remaining logic & then plotting the data into the seaborn graph.
Let’s just briefly see the central directory structure –

Here is the log directory –

And, finally, the source directory should look something like this –

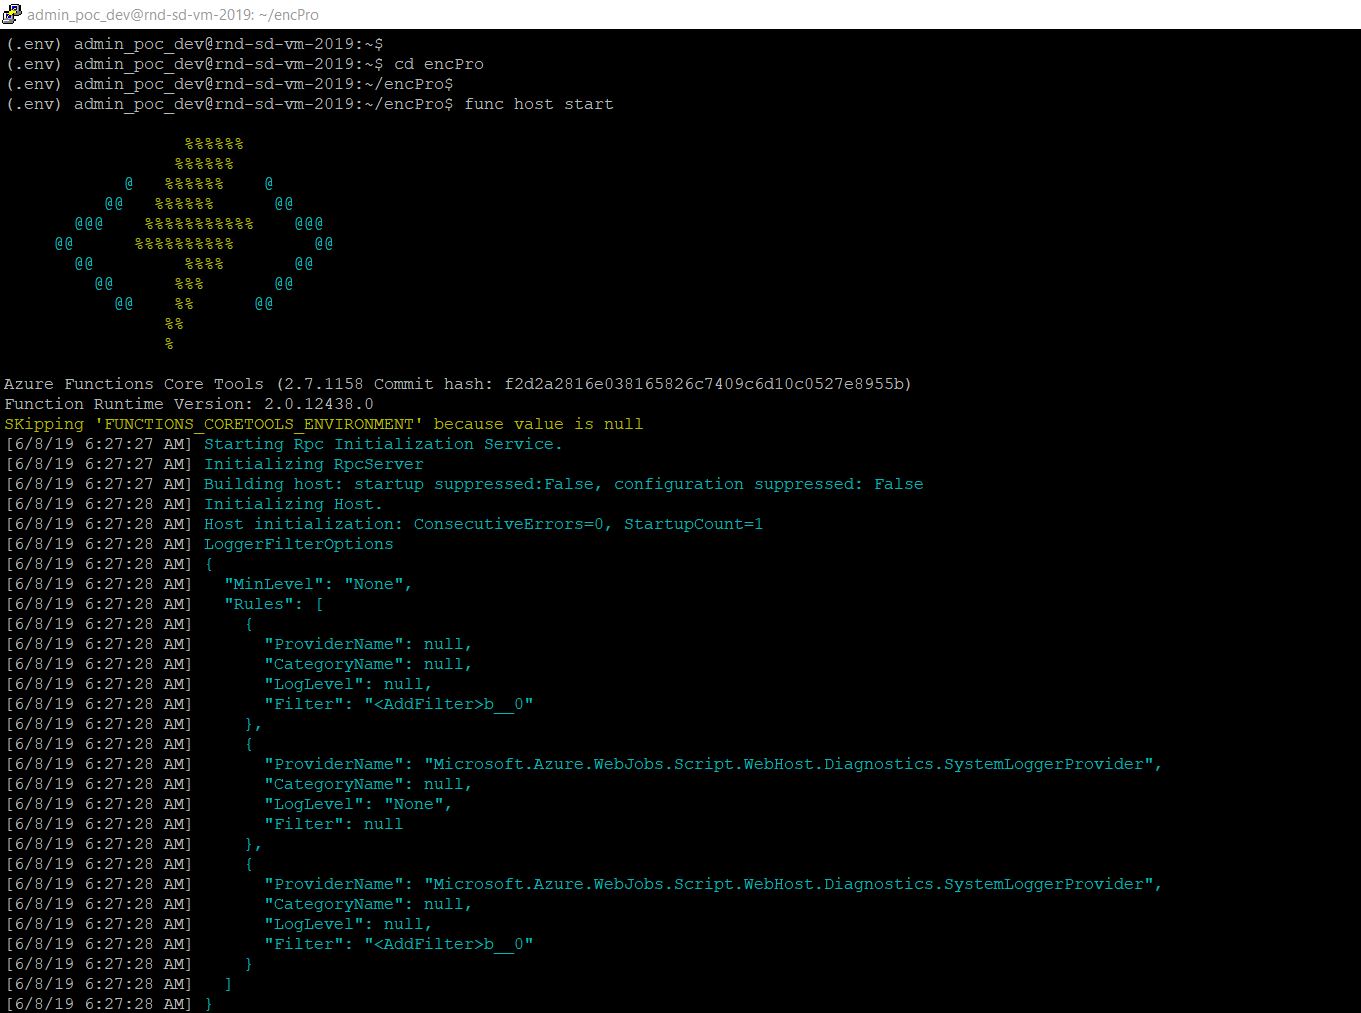
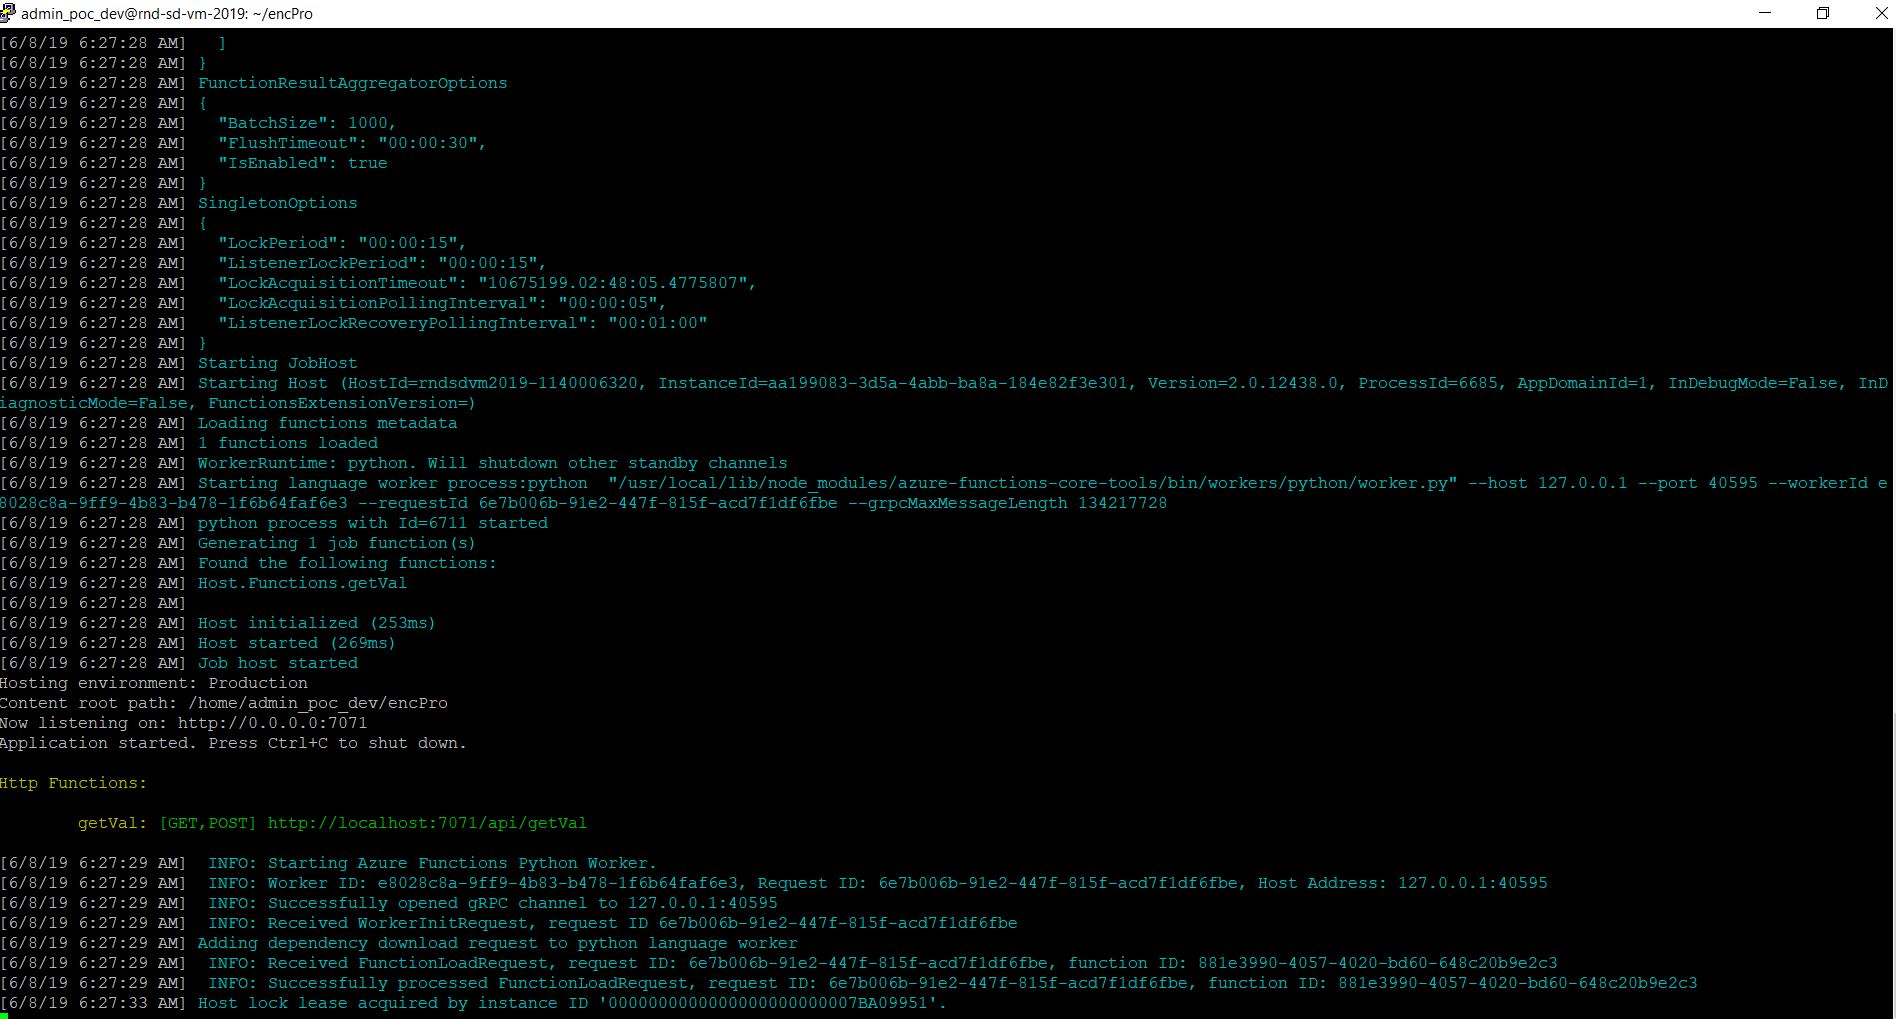
Now, let’s runt the application –
Following lines are essential –
sns.lmplot(x='RiskFactor', y='SeniorCitizen', data=dfMerge, hue='Sex')This will project the plot like this –

Or,
sns.lmplot(x='RiskFactor', y='SeniorCitizen', data=dfMerge, hue='Sex', markers=['o','v'], scatter_kws={'s':25})This will lead to the following figures –

As you can see, here, using the marker of (‘o’/’v’) leads to two different symbols for the different gender.
Or,
sns.lmplot(x='RiskFactor', y='SeniorCitizen', data=dfMerge, col='Sex')This will lead to –

So, in this case, the application has created two completely different sets for Sex.
So, finally, we’ve done it. 😀
In the next post, I’ll be doing some more improvisation on top of these data sets. Till then – Happy Avenging! 🙂
Note: All the data posted here are representational data & available over the internet & for educational purpose only.


You must be logged in to post a comment.